3D Printing - SLA
Duration: 2 Hr
Training Points: 200
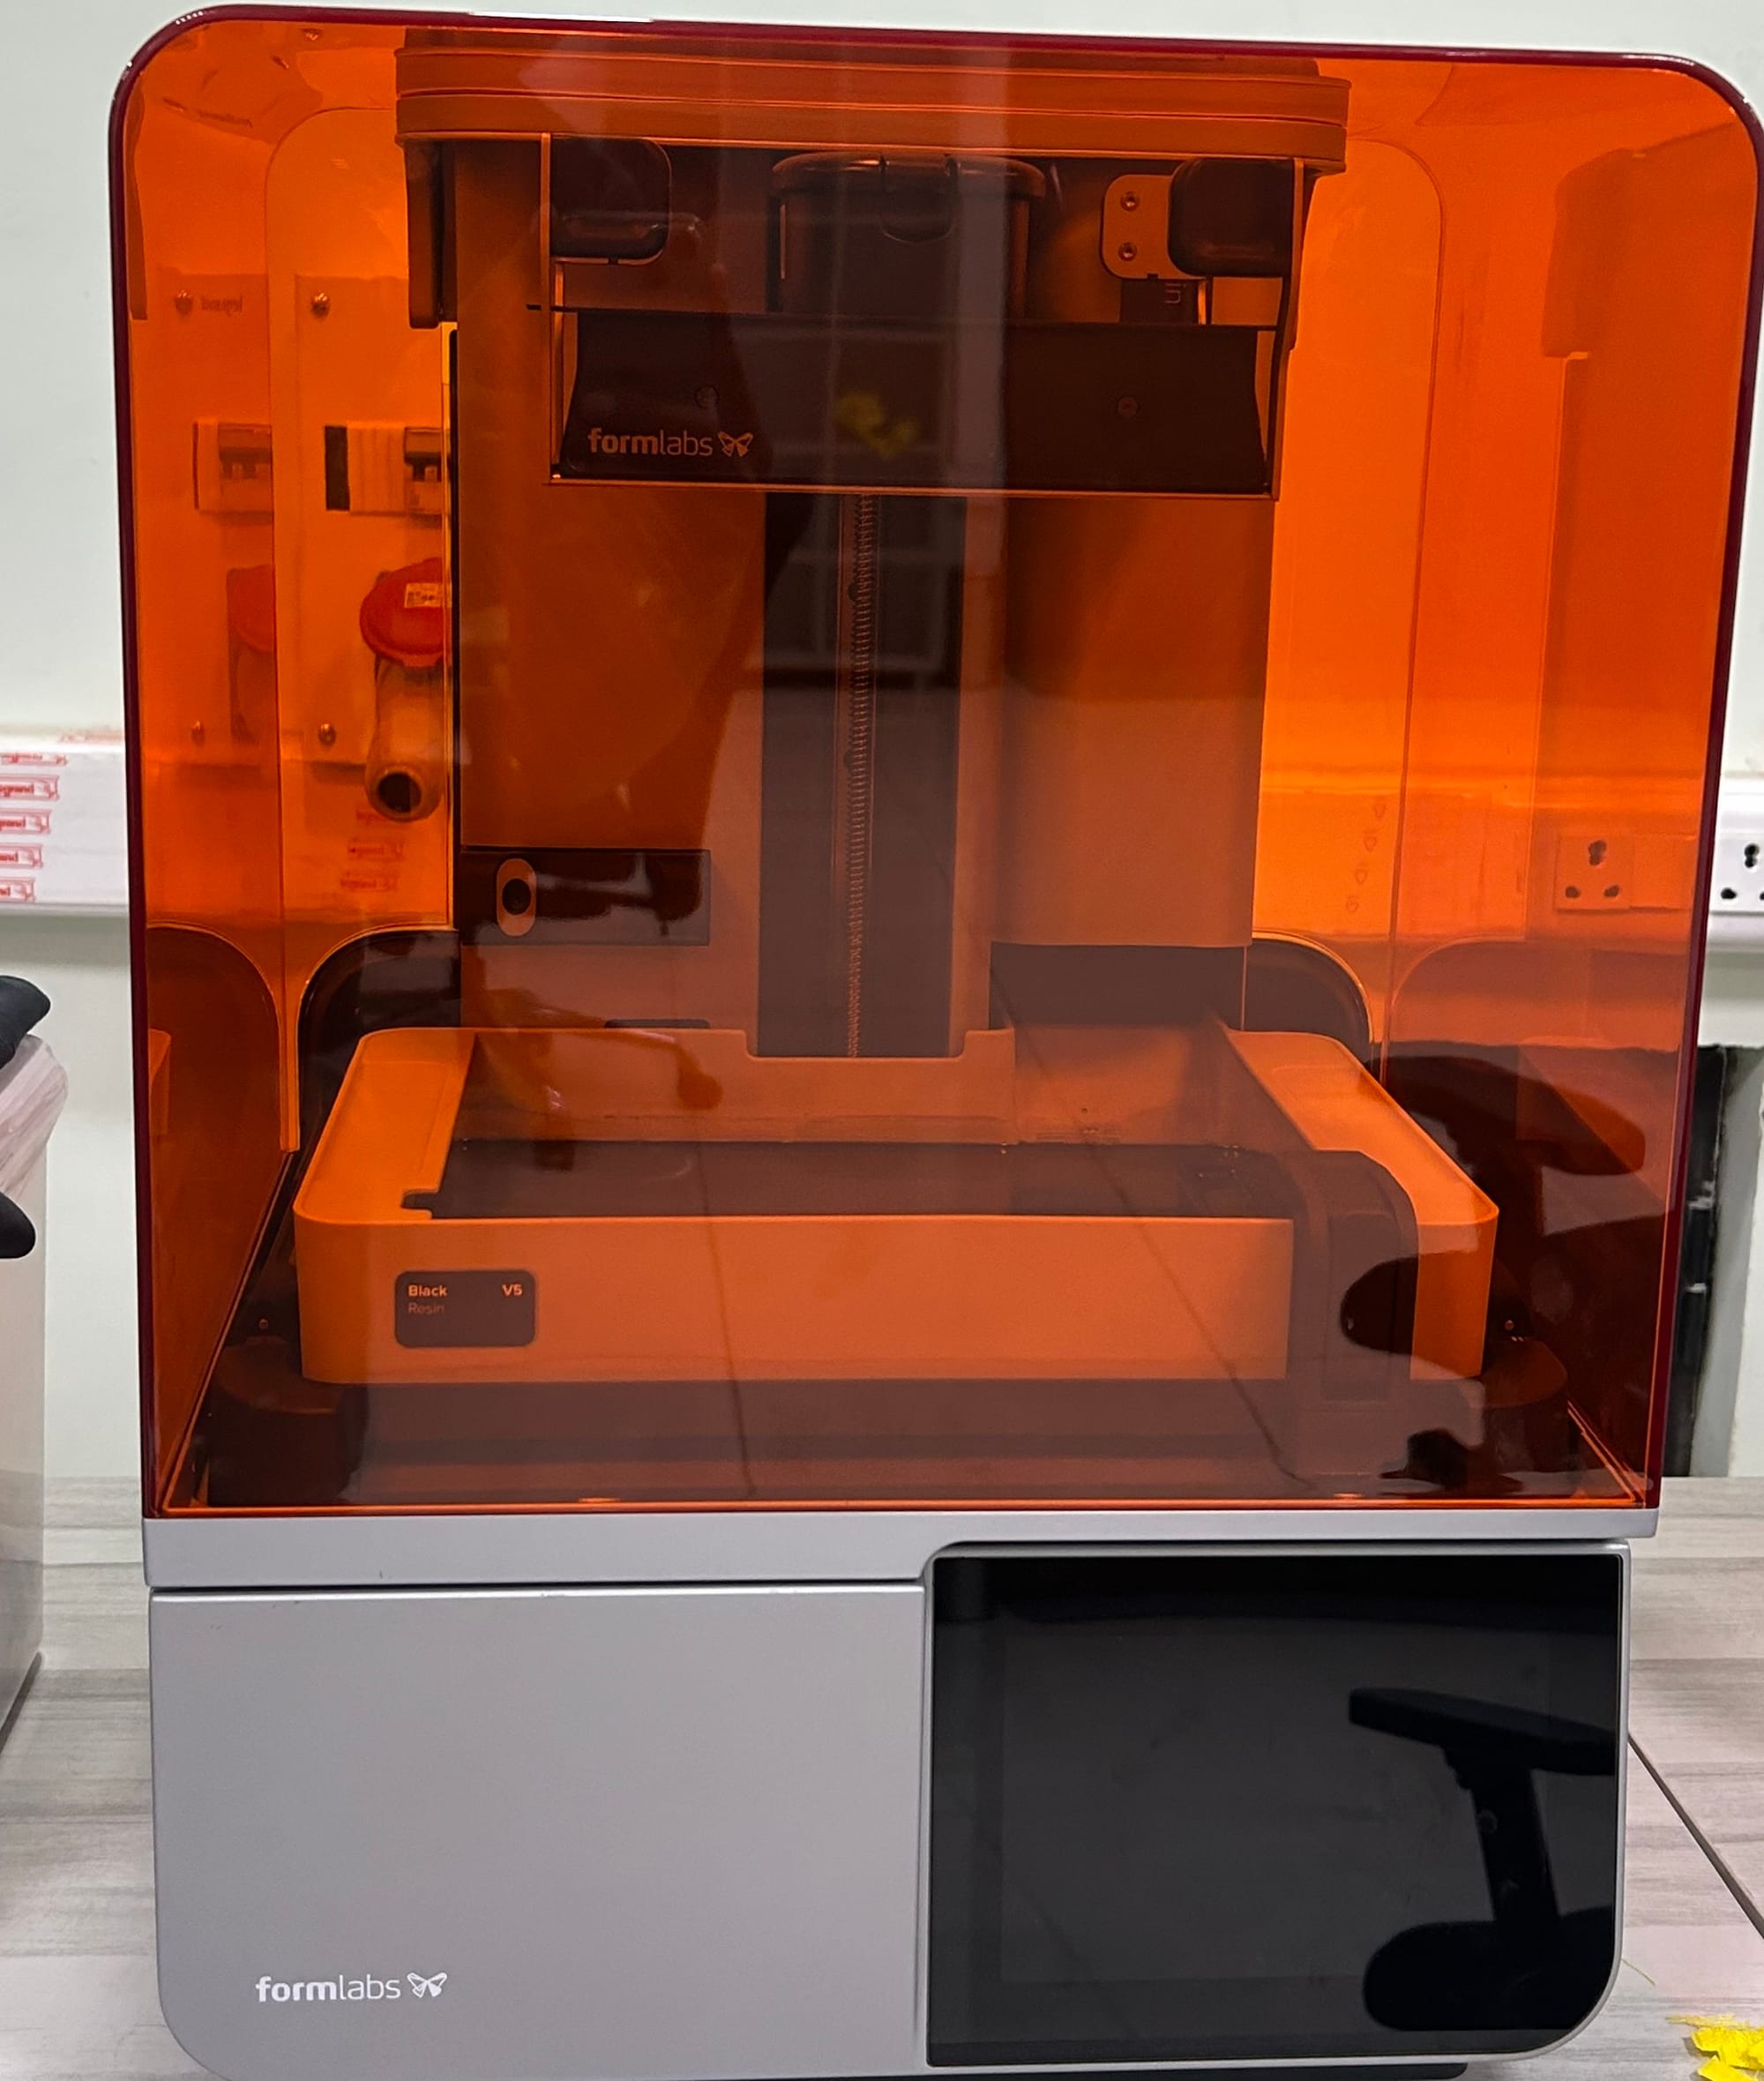
Facility to Book: SLA Printer FORM 4
Basic introduction to SLA 3d printers:
Formlabs official documentation
Stereolithography is a “vat polymerization” 3D printing process; liquid, photosensitive resin is poured into a vat (or tank), and UV light interacts with the resin to selectively polymerize (i.e., cure, solidify) it.
After designing the product in CAD softwares, convert it into STL file. Use the SLA printer to print the product, but lets start learning from slicing the STL file.
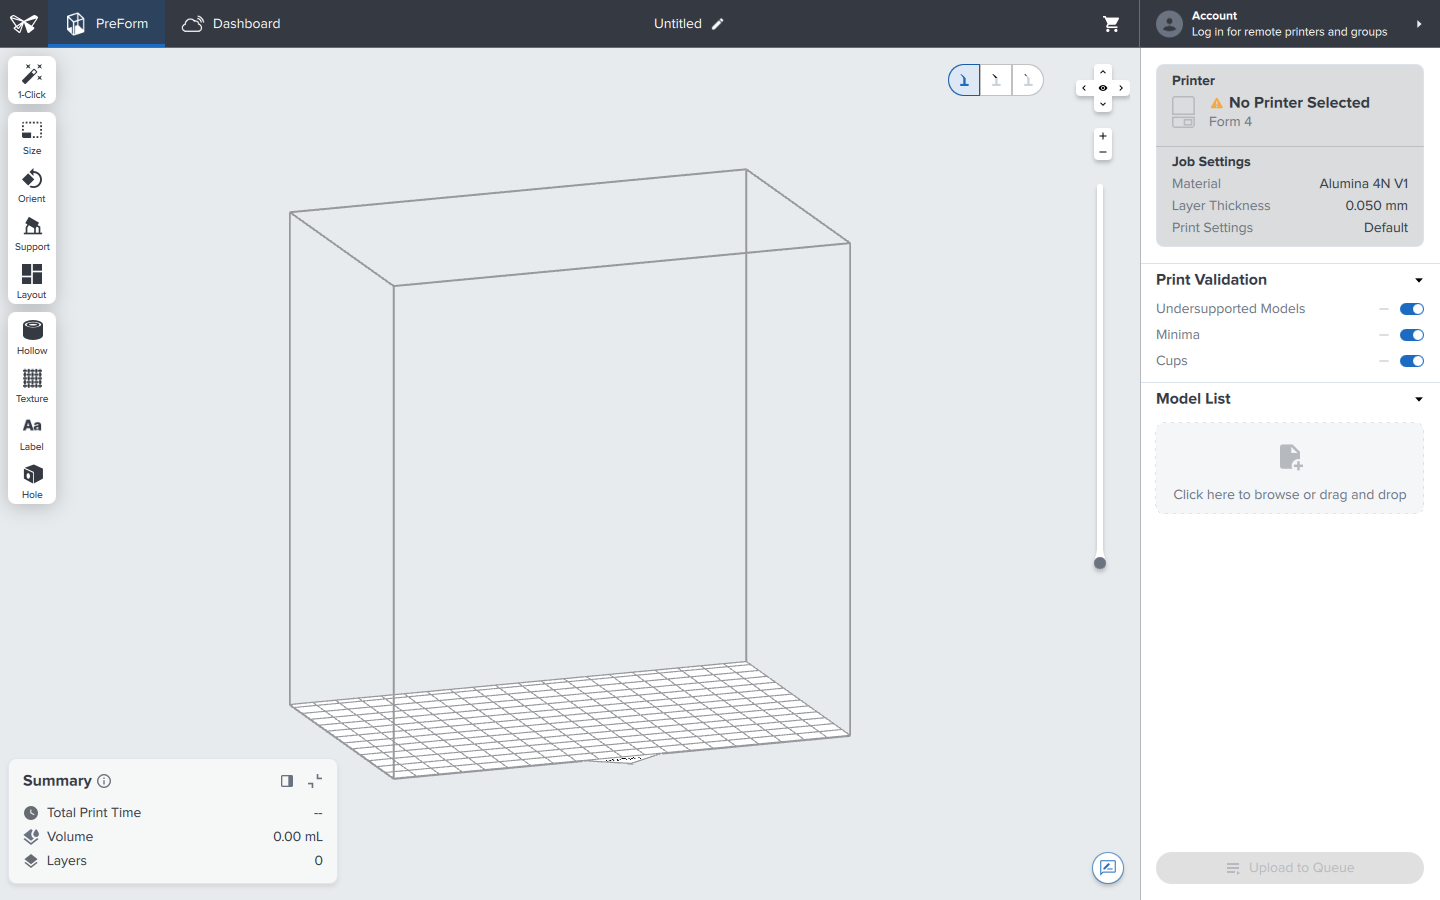
Slicing:
Download the slicing software for SLA 3d printer. Our lab consists SLA 3d printer Form4 from Formlabs. The slicing software is preform, download it.
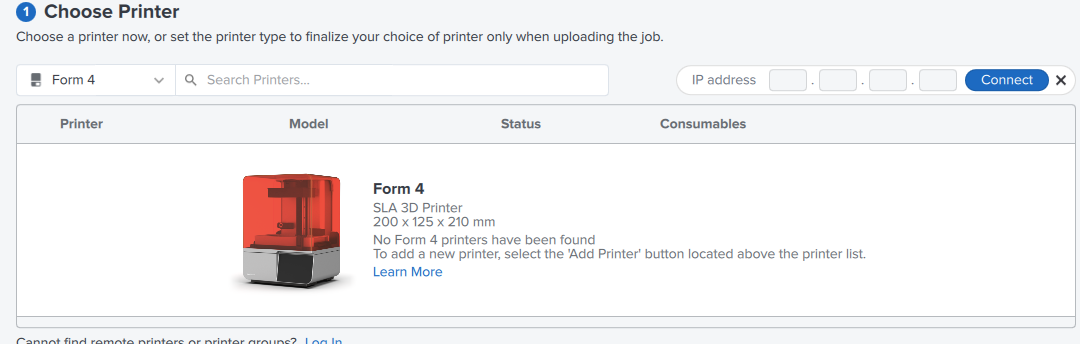
Step-1:
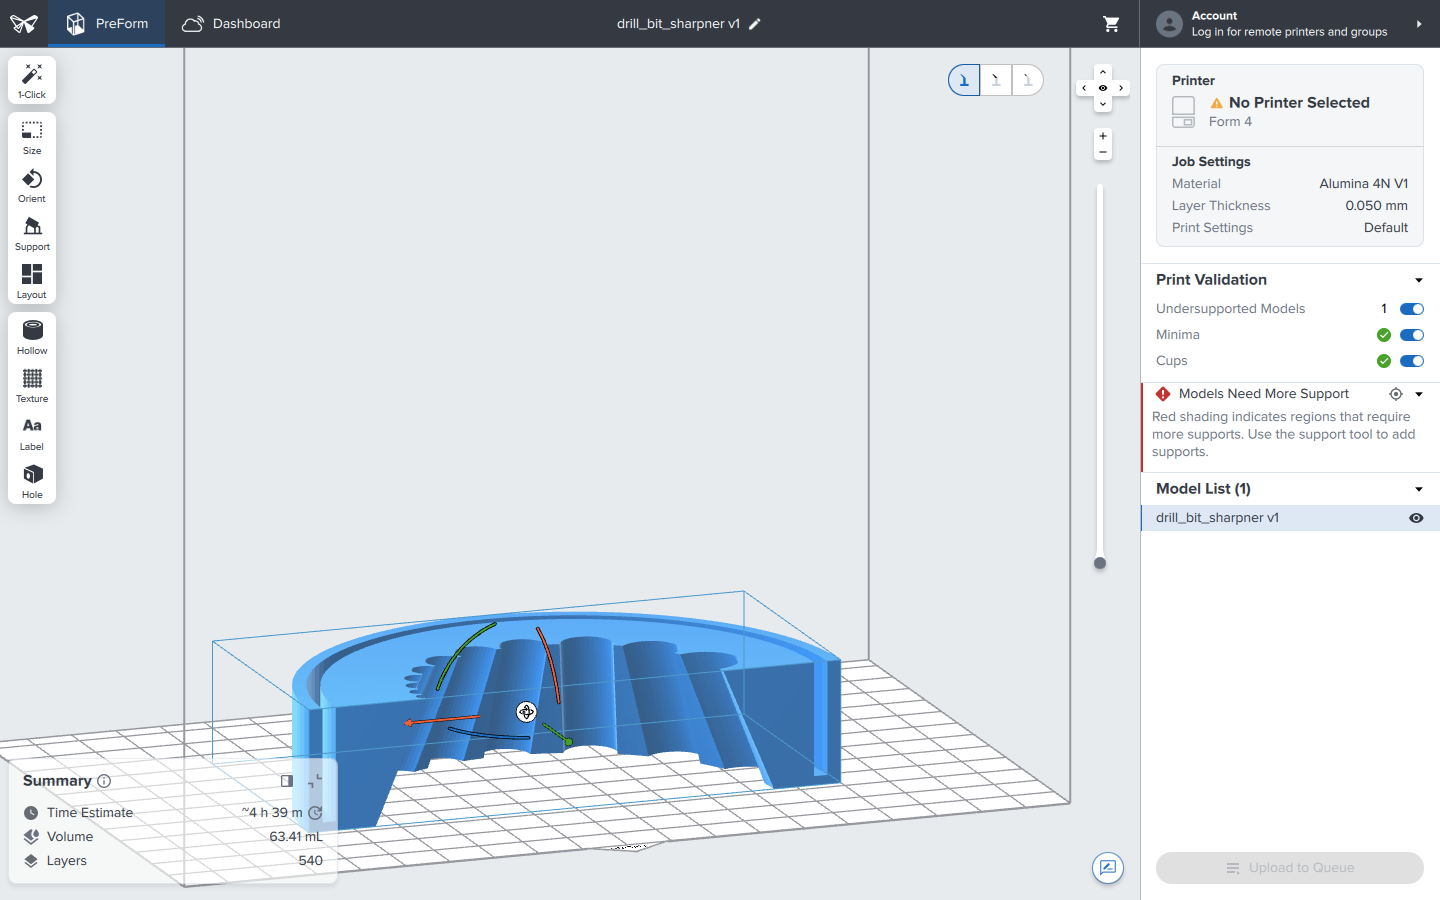
Choose 3d printer, you can also connect with 3d printer using its IP address.
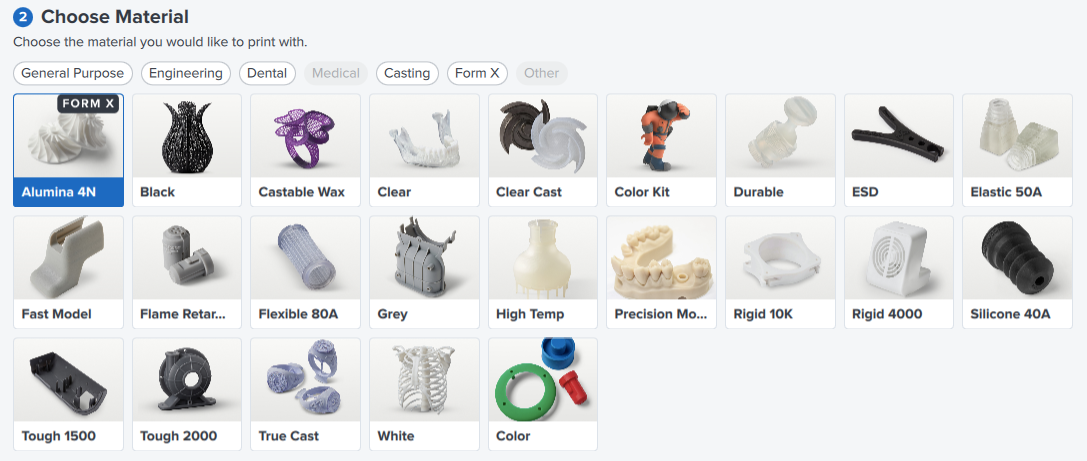
Step-2:
Choose printing material resin based on the your product requirements. Ex: Alumina 4N
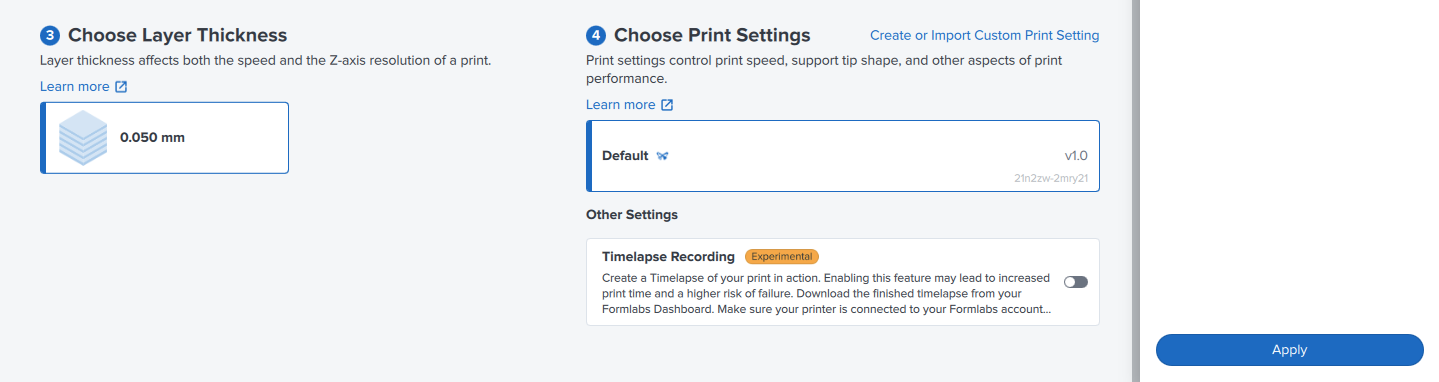
Step-3:
Choose the layer thickness, and printer setting for custom printing settings. You can select printing timelapse if required. After choosing click on Apply icon.
Step-4:
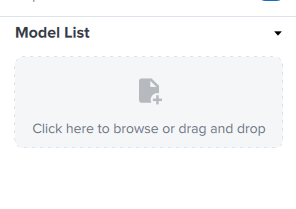
Go to Model list and upload the STL file,
Step-5:
You can select One Click, it will automatically generates the position, orientation, and support.
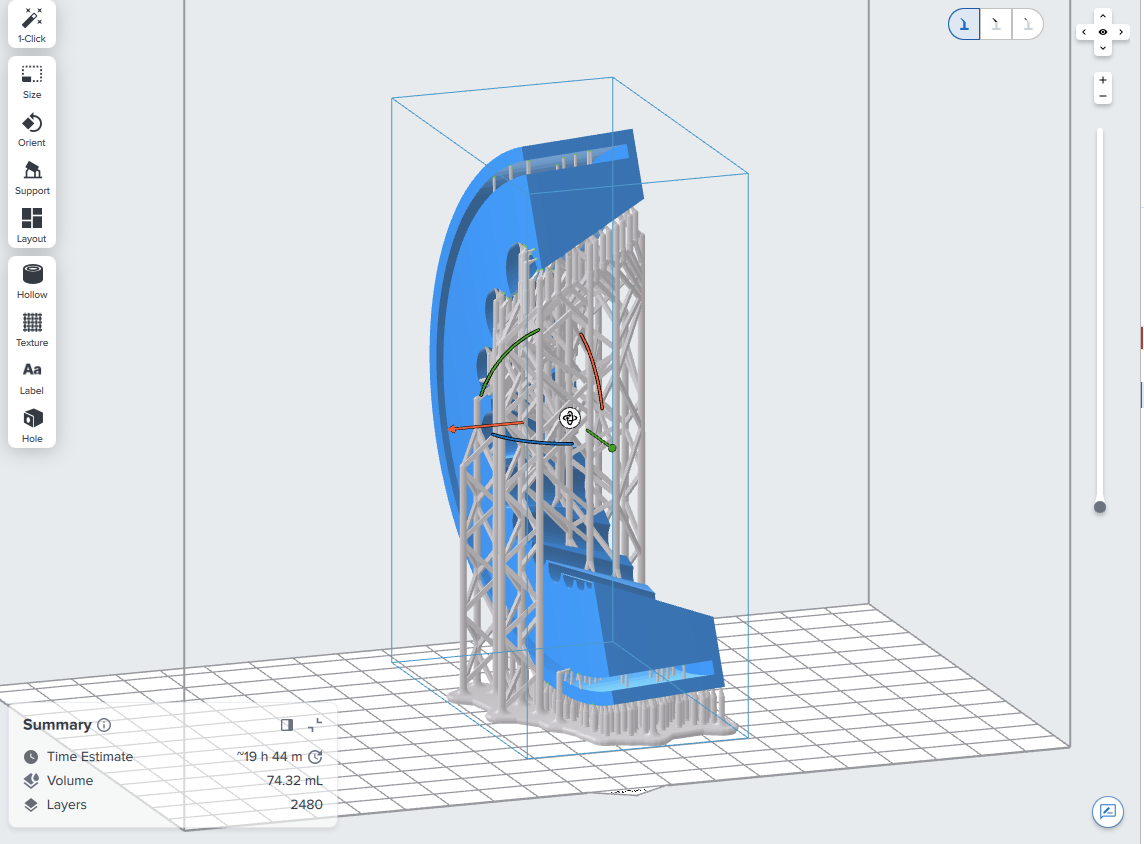
It is suggested to manually select all the parameters based on your products requirements. Position and orientation can be adjusted.
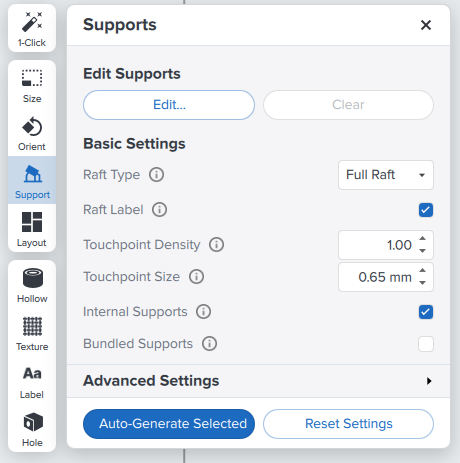
You can change the support settings and you can auto-generate the support
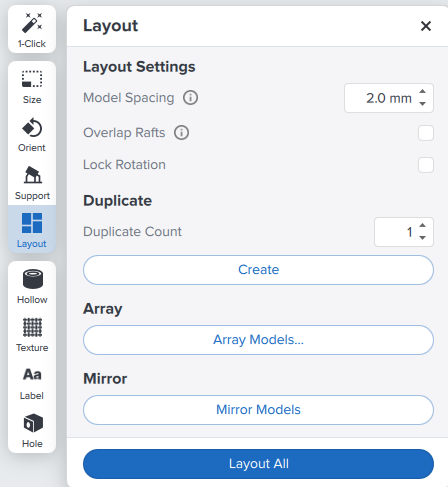
You can plan the layout, like make a duplicate or making multiple parts and mirror models
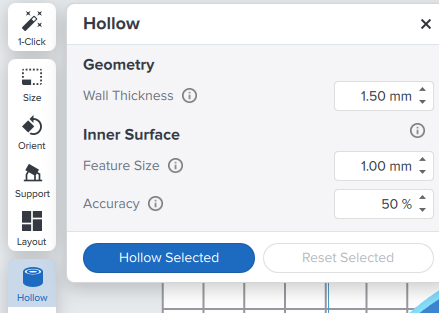
You can decrease the print time by making the part hollow inside, choose the wall thickness
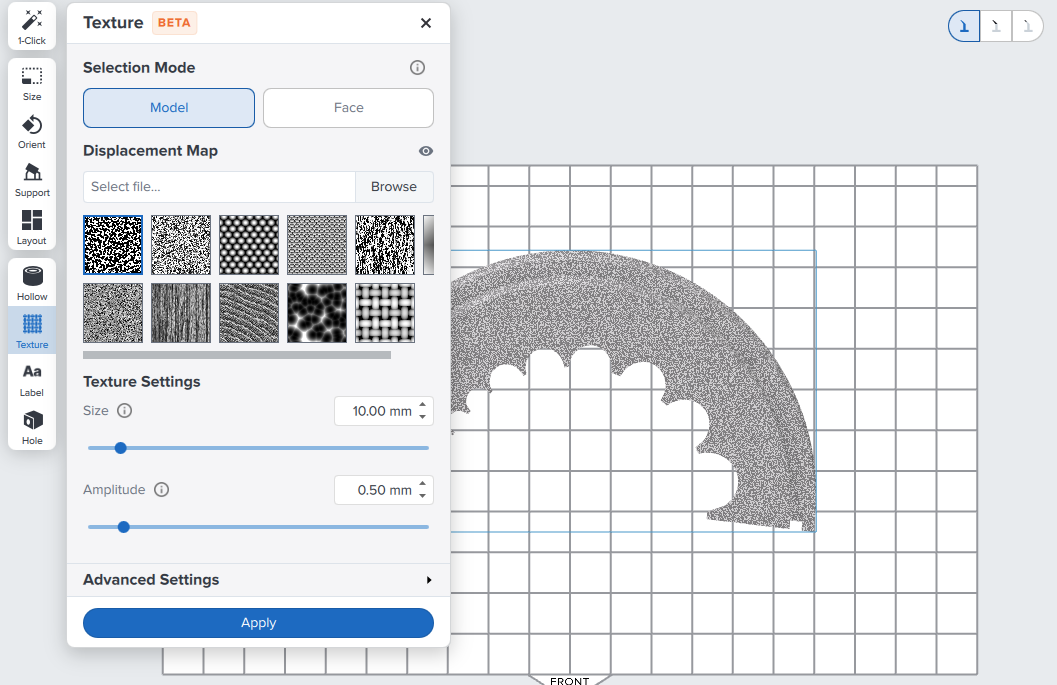
Now based the product requirements change the texture for deciding the material properties
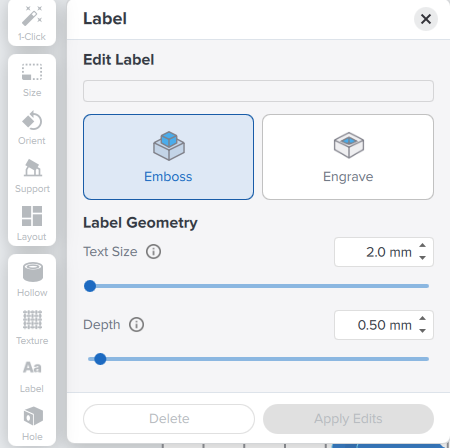
You add labels on the product, labels for example can be part number or product company name. You can manually add hole to the product by selecting on Hole icon
SLA 3D Printer Machine Operation:
There is power button on the backside of the printer make sure to turn it on.
Step-1:
Press the top of the cartridge to release resin into the tank.
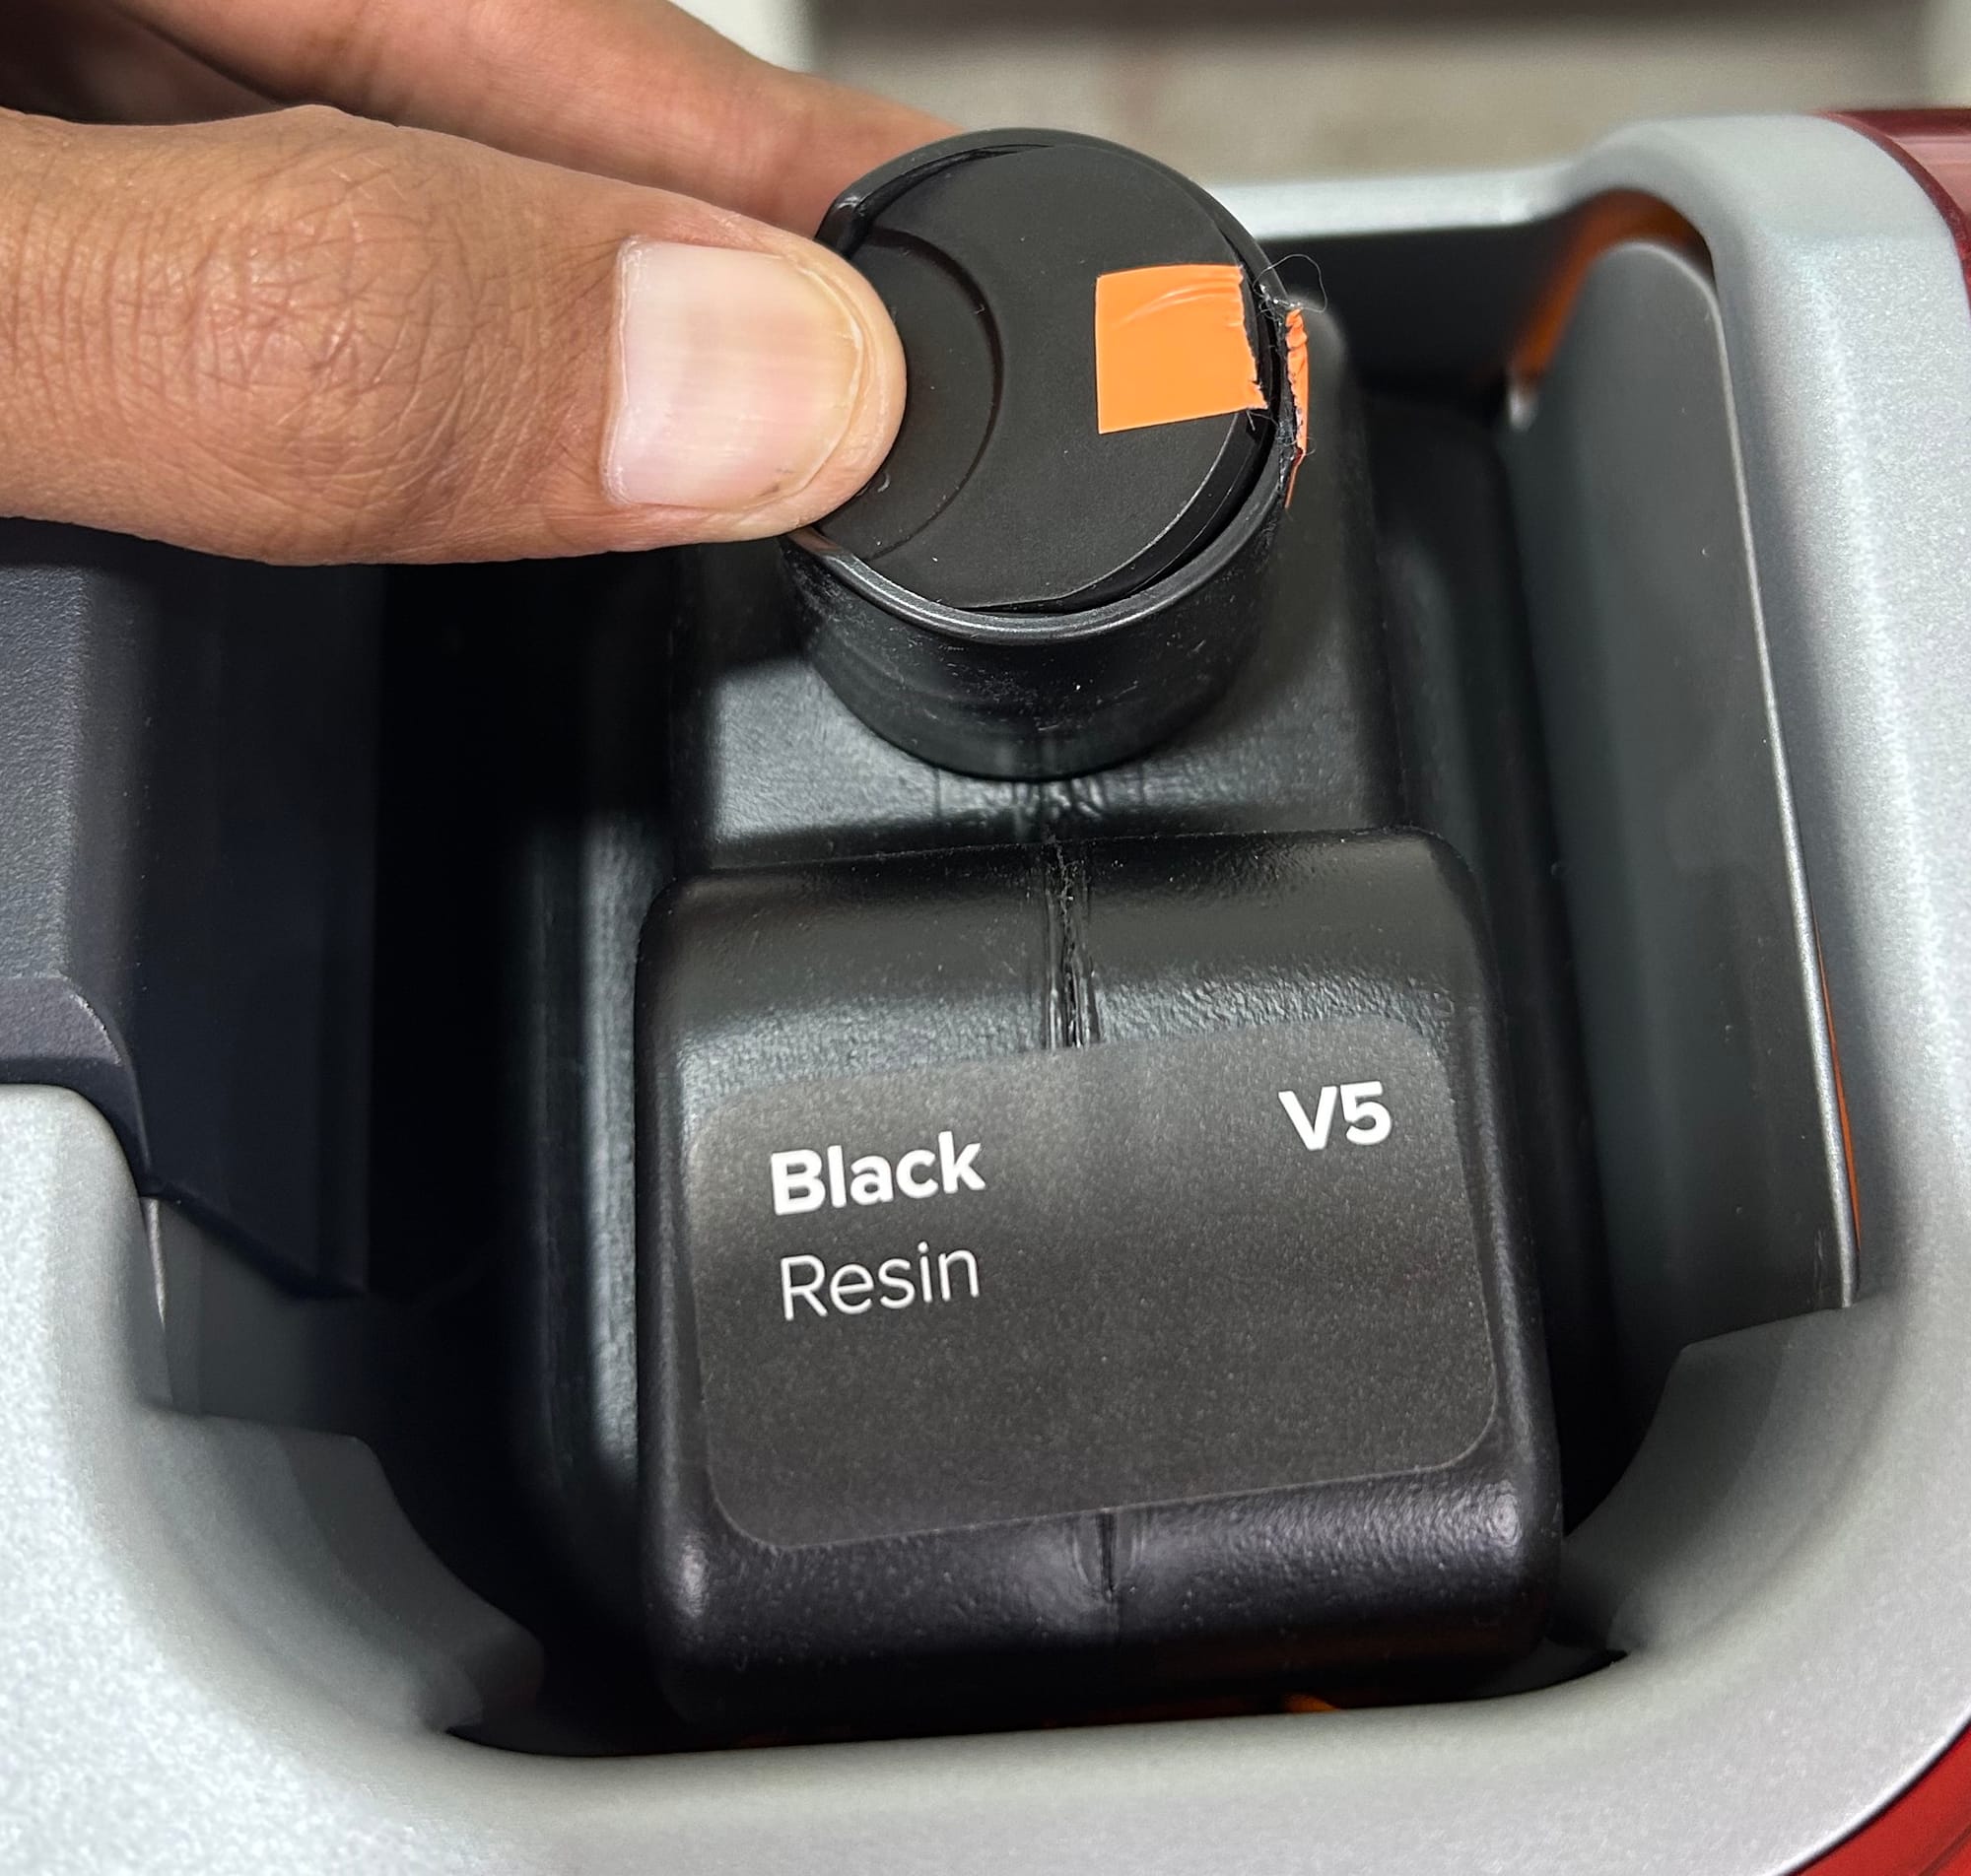
Cartridge is open, build platform and tank needs to be locked with the latches provided.
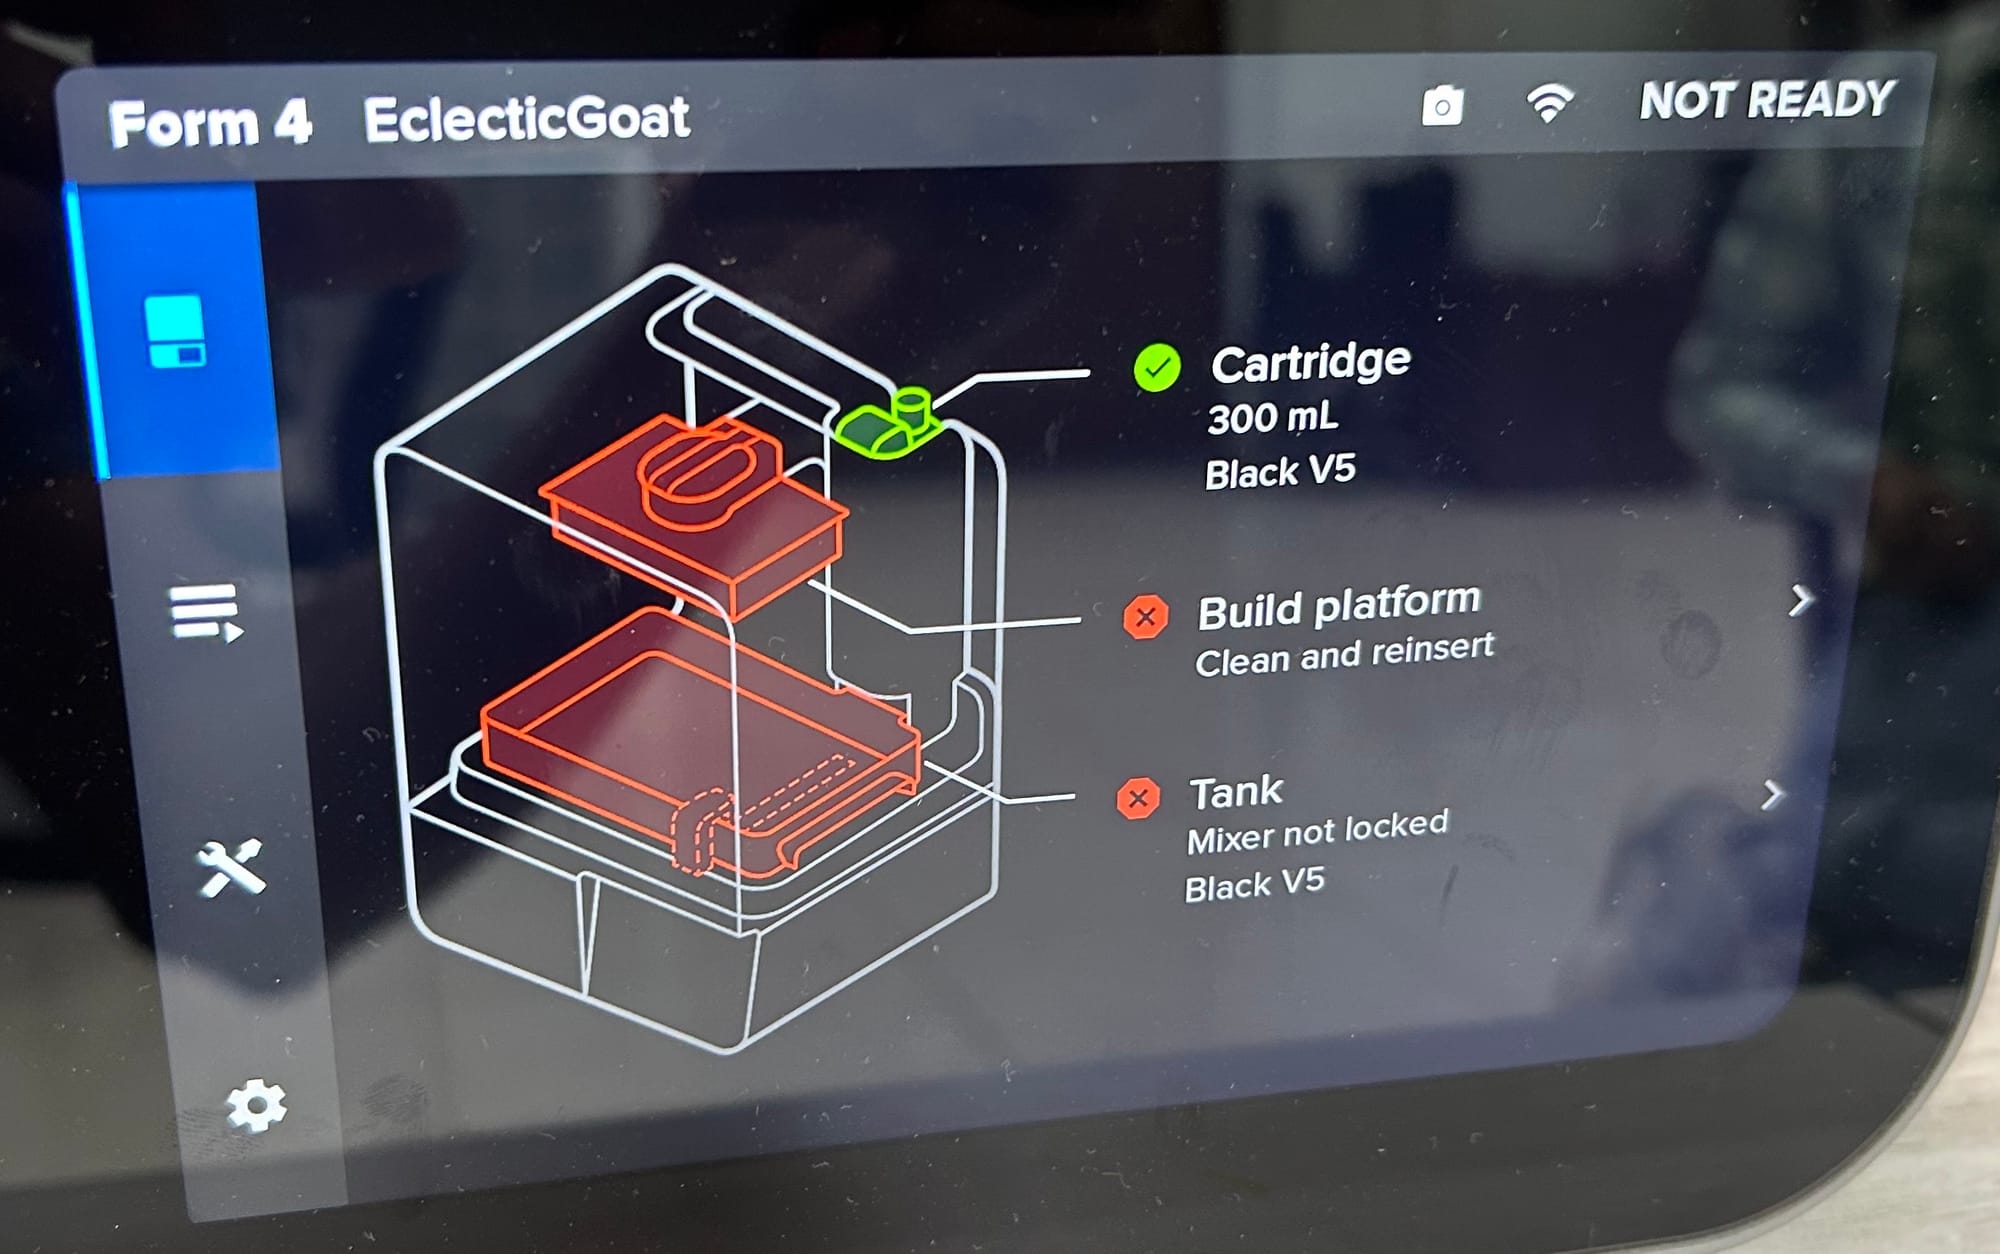
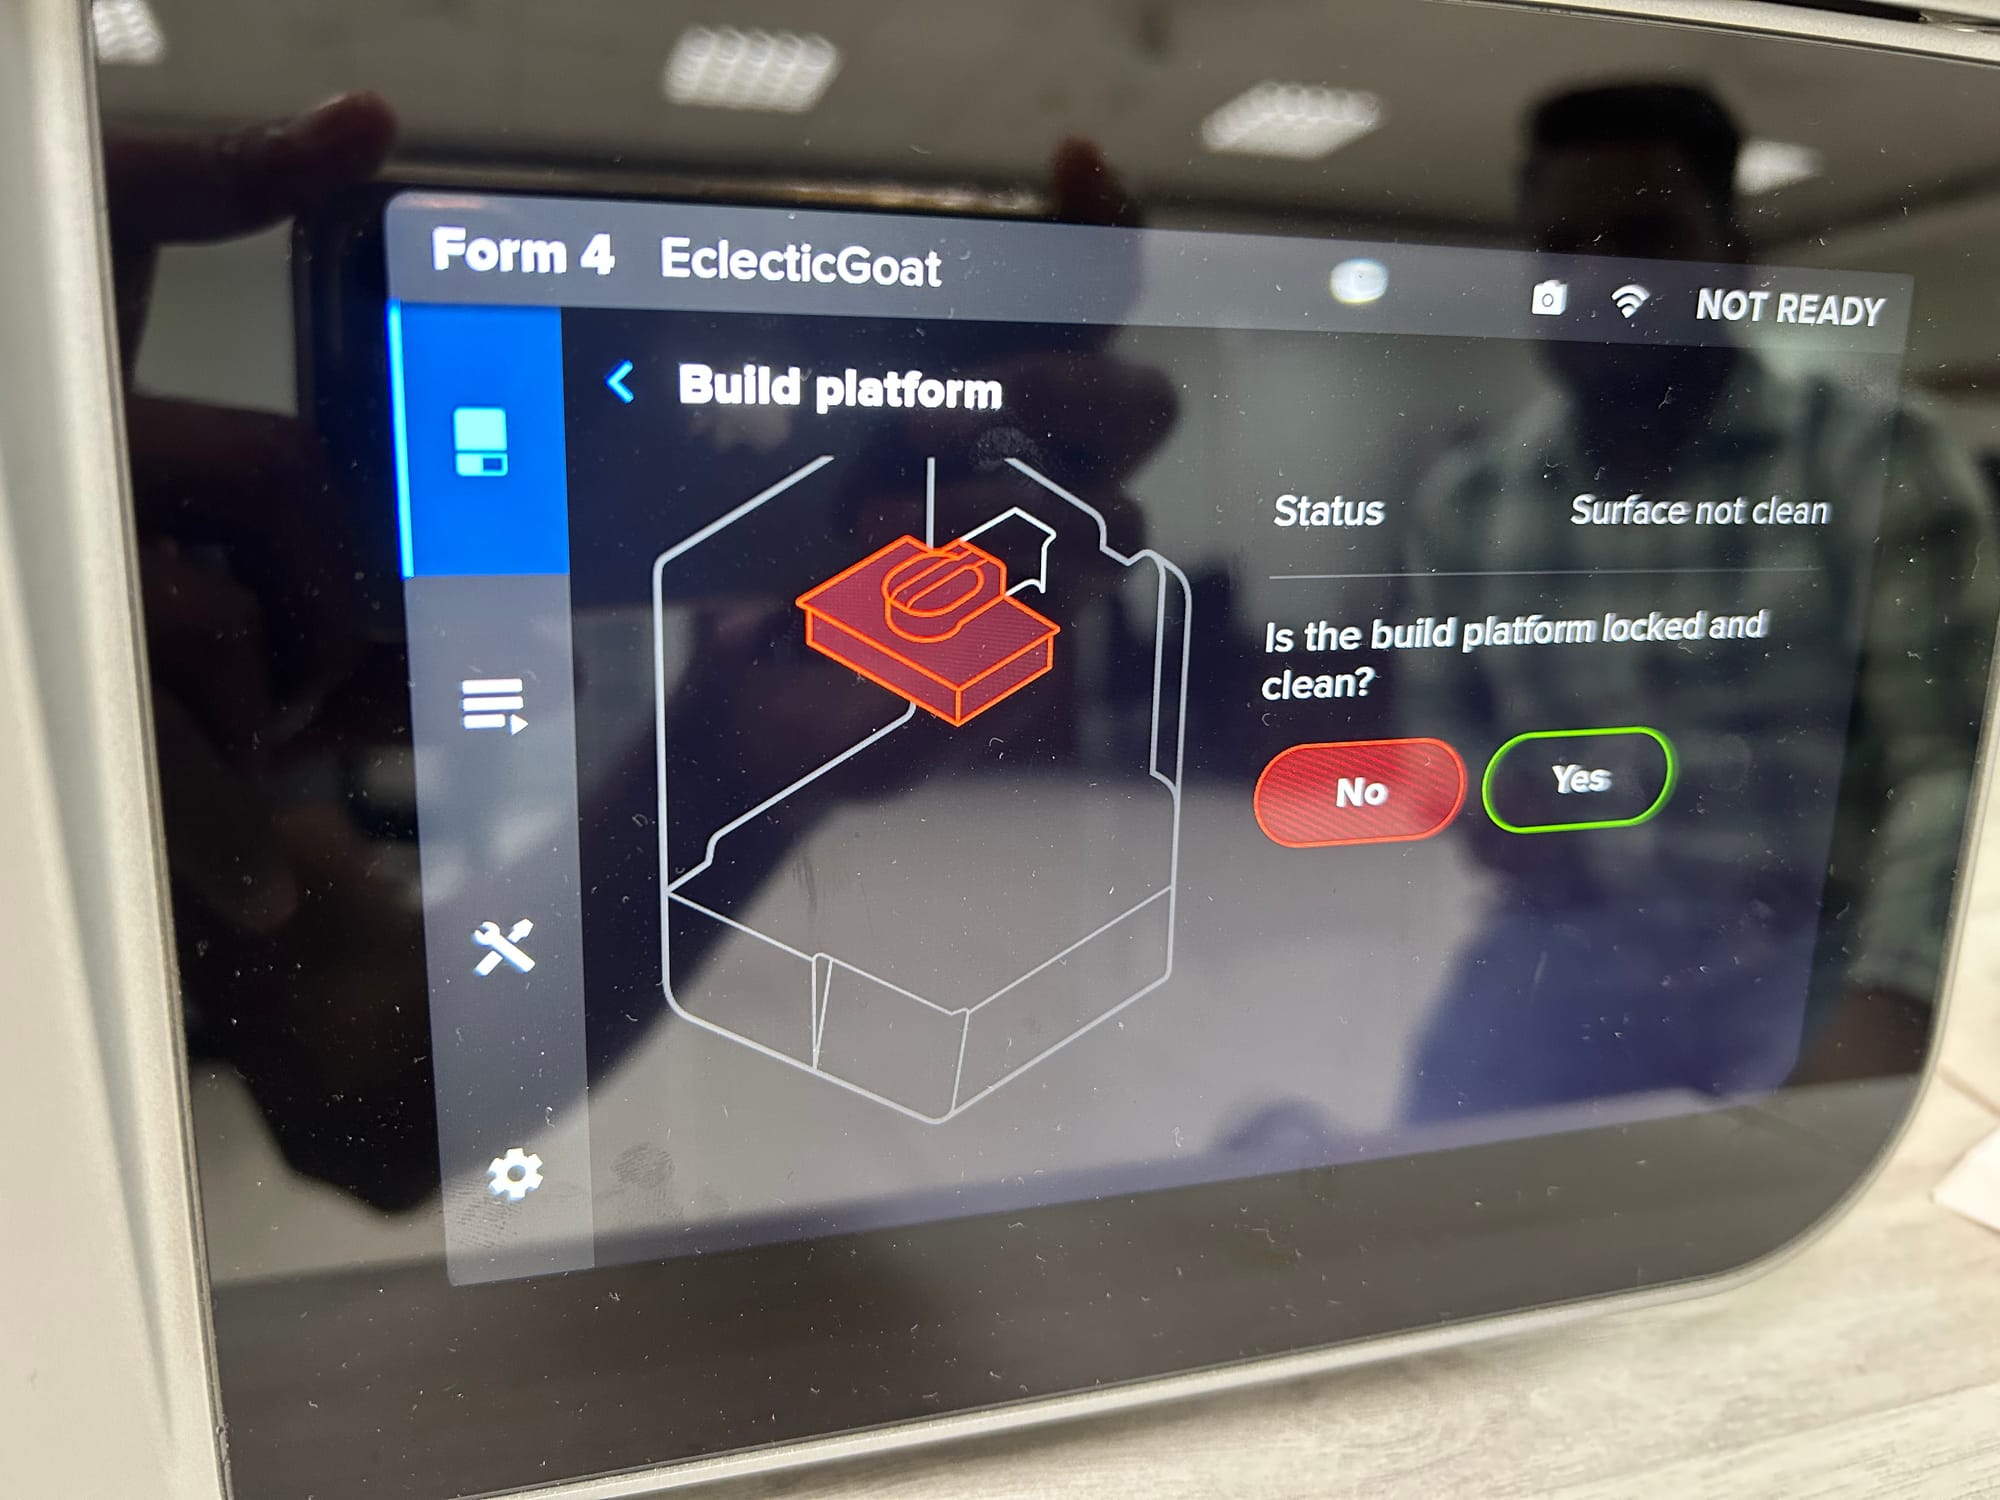
Step-2: Make sure to lock the build platform
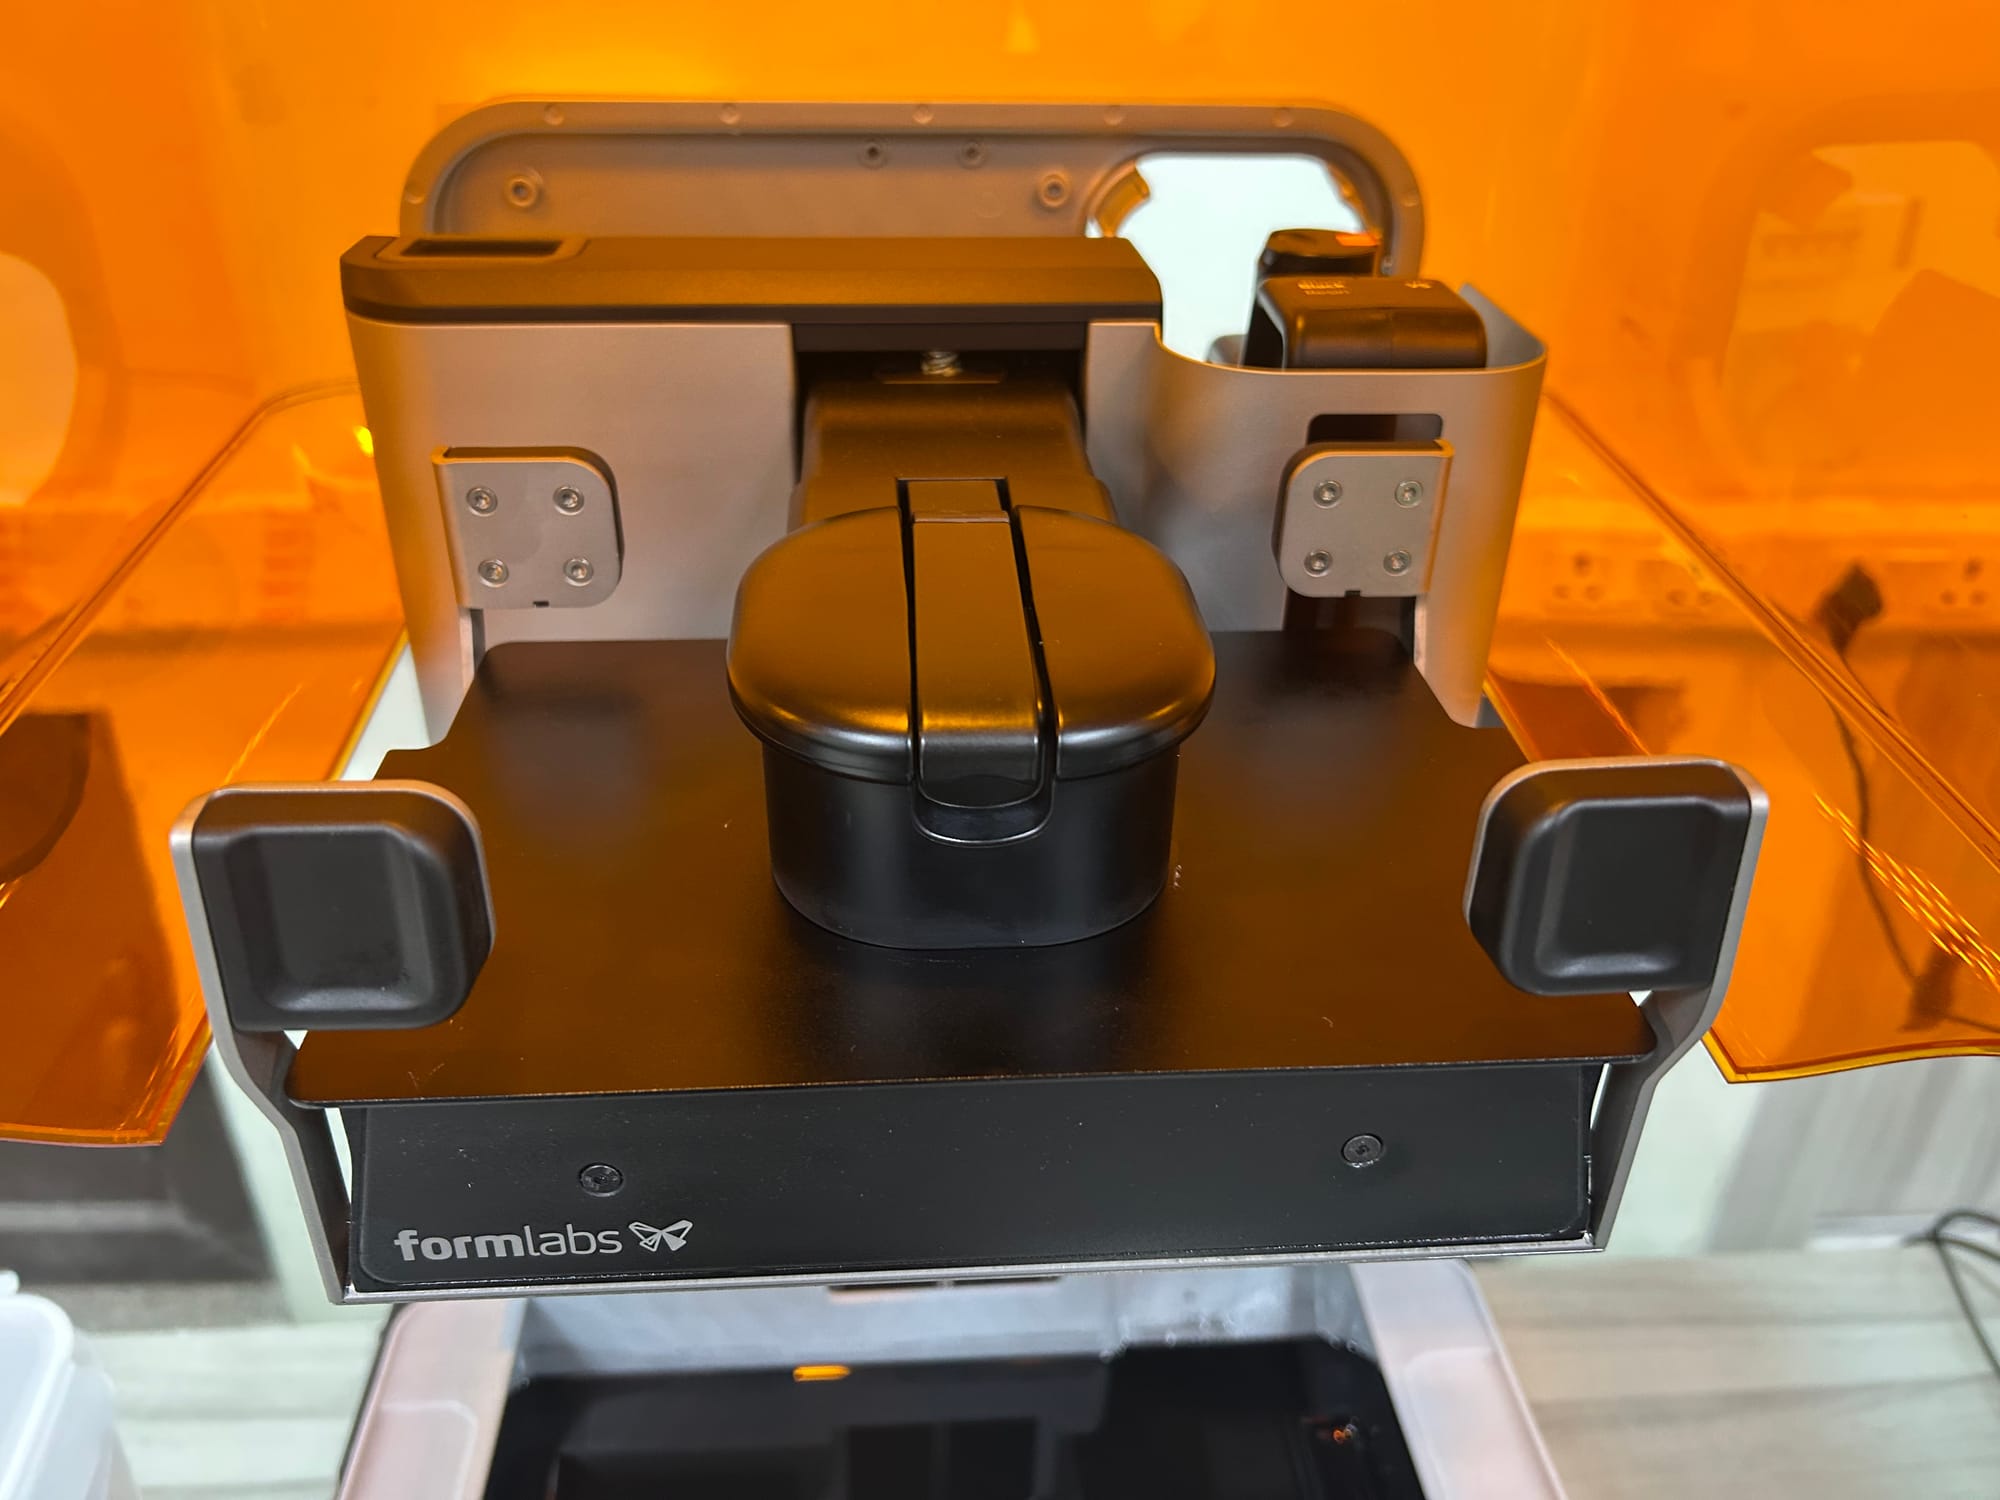
Now select the build platform, and press yes after locking the build platform
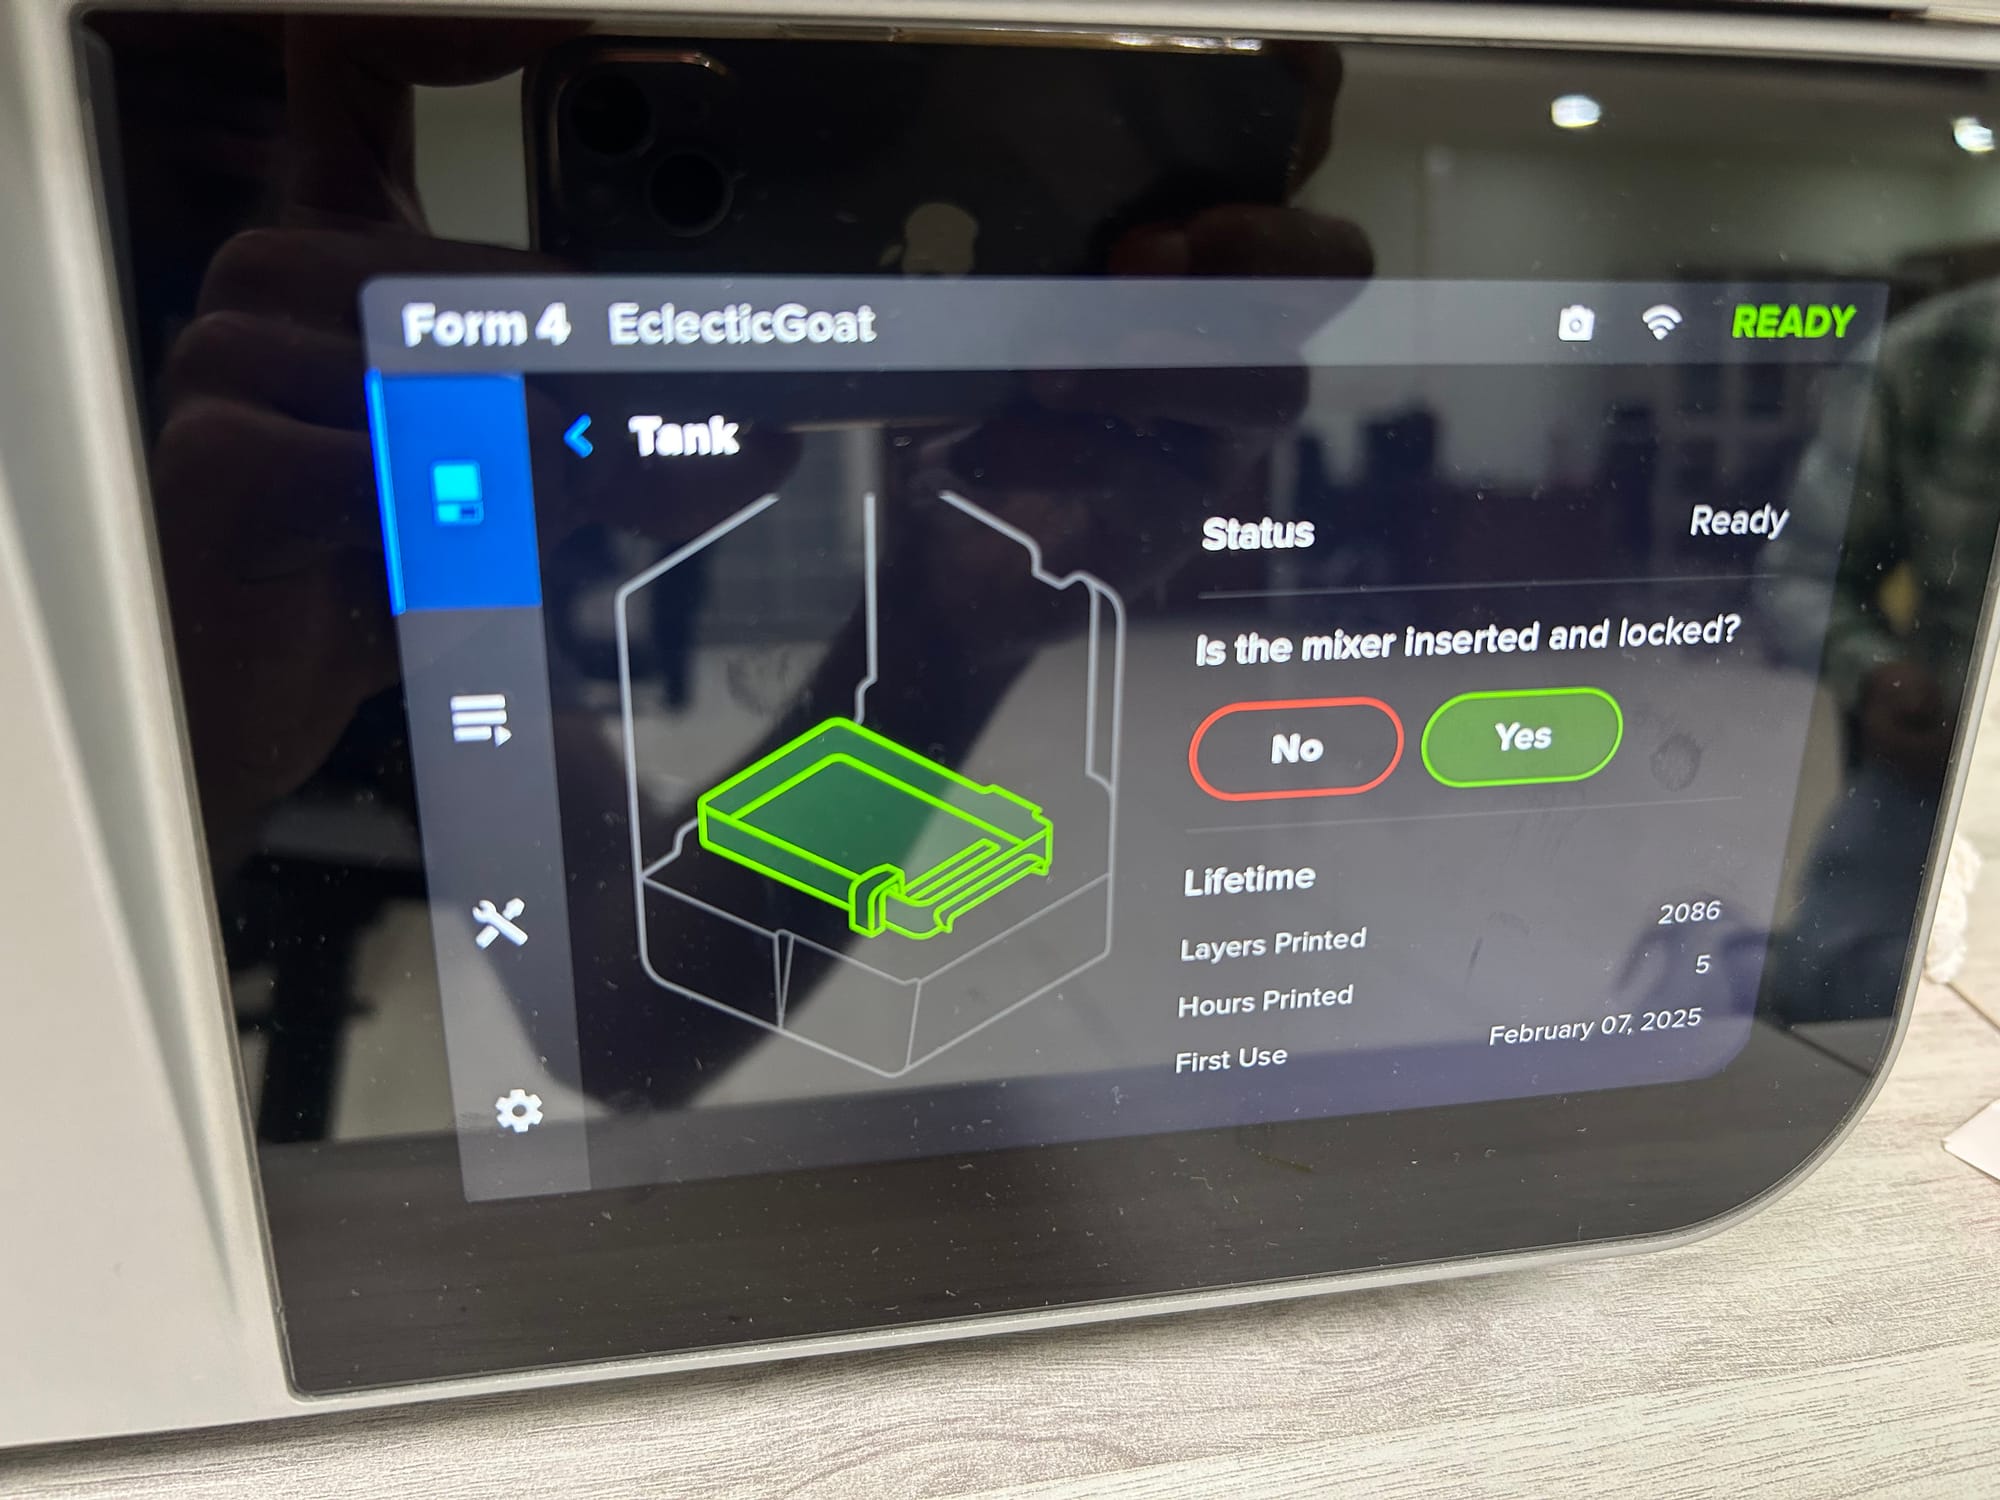
Step-3: Make sure the tank is locked
Select the Tank and press yes after locking the tank
After these three steps the printer is ready to print
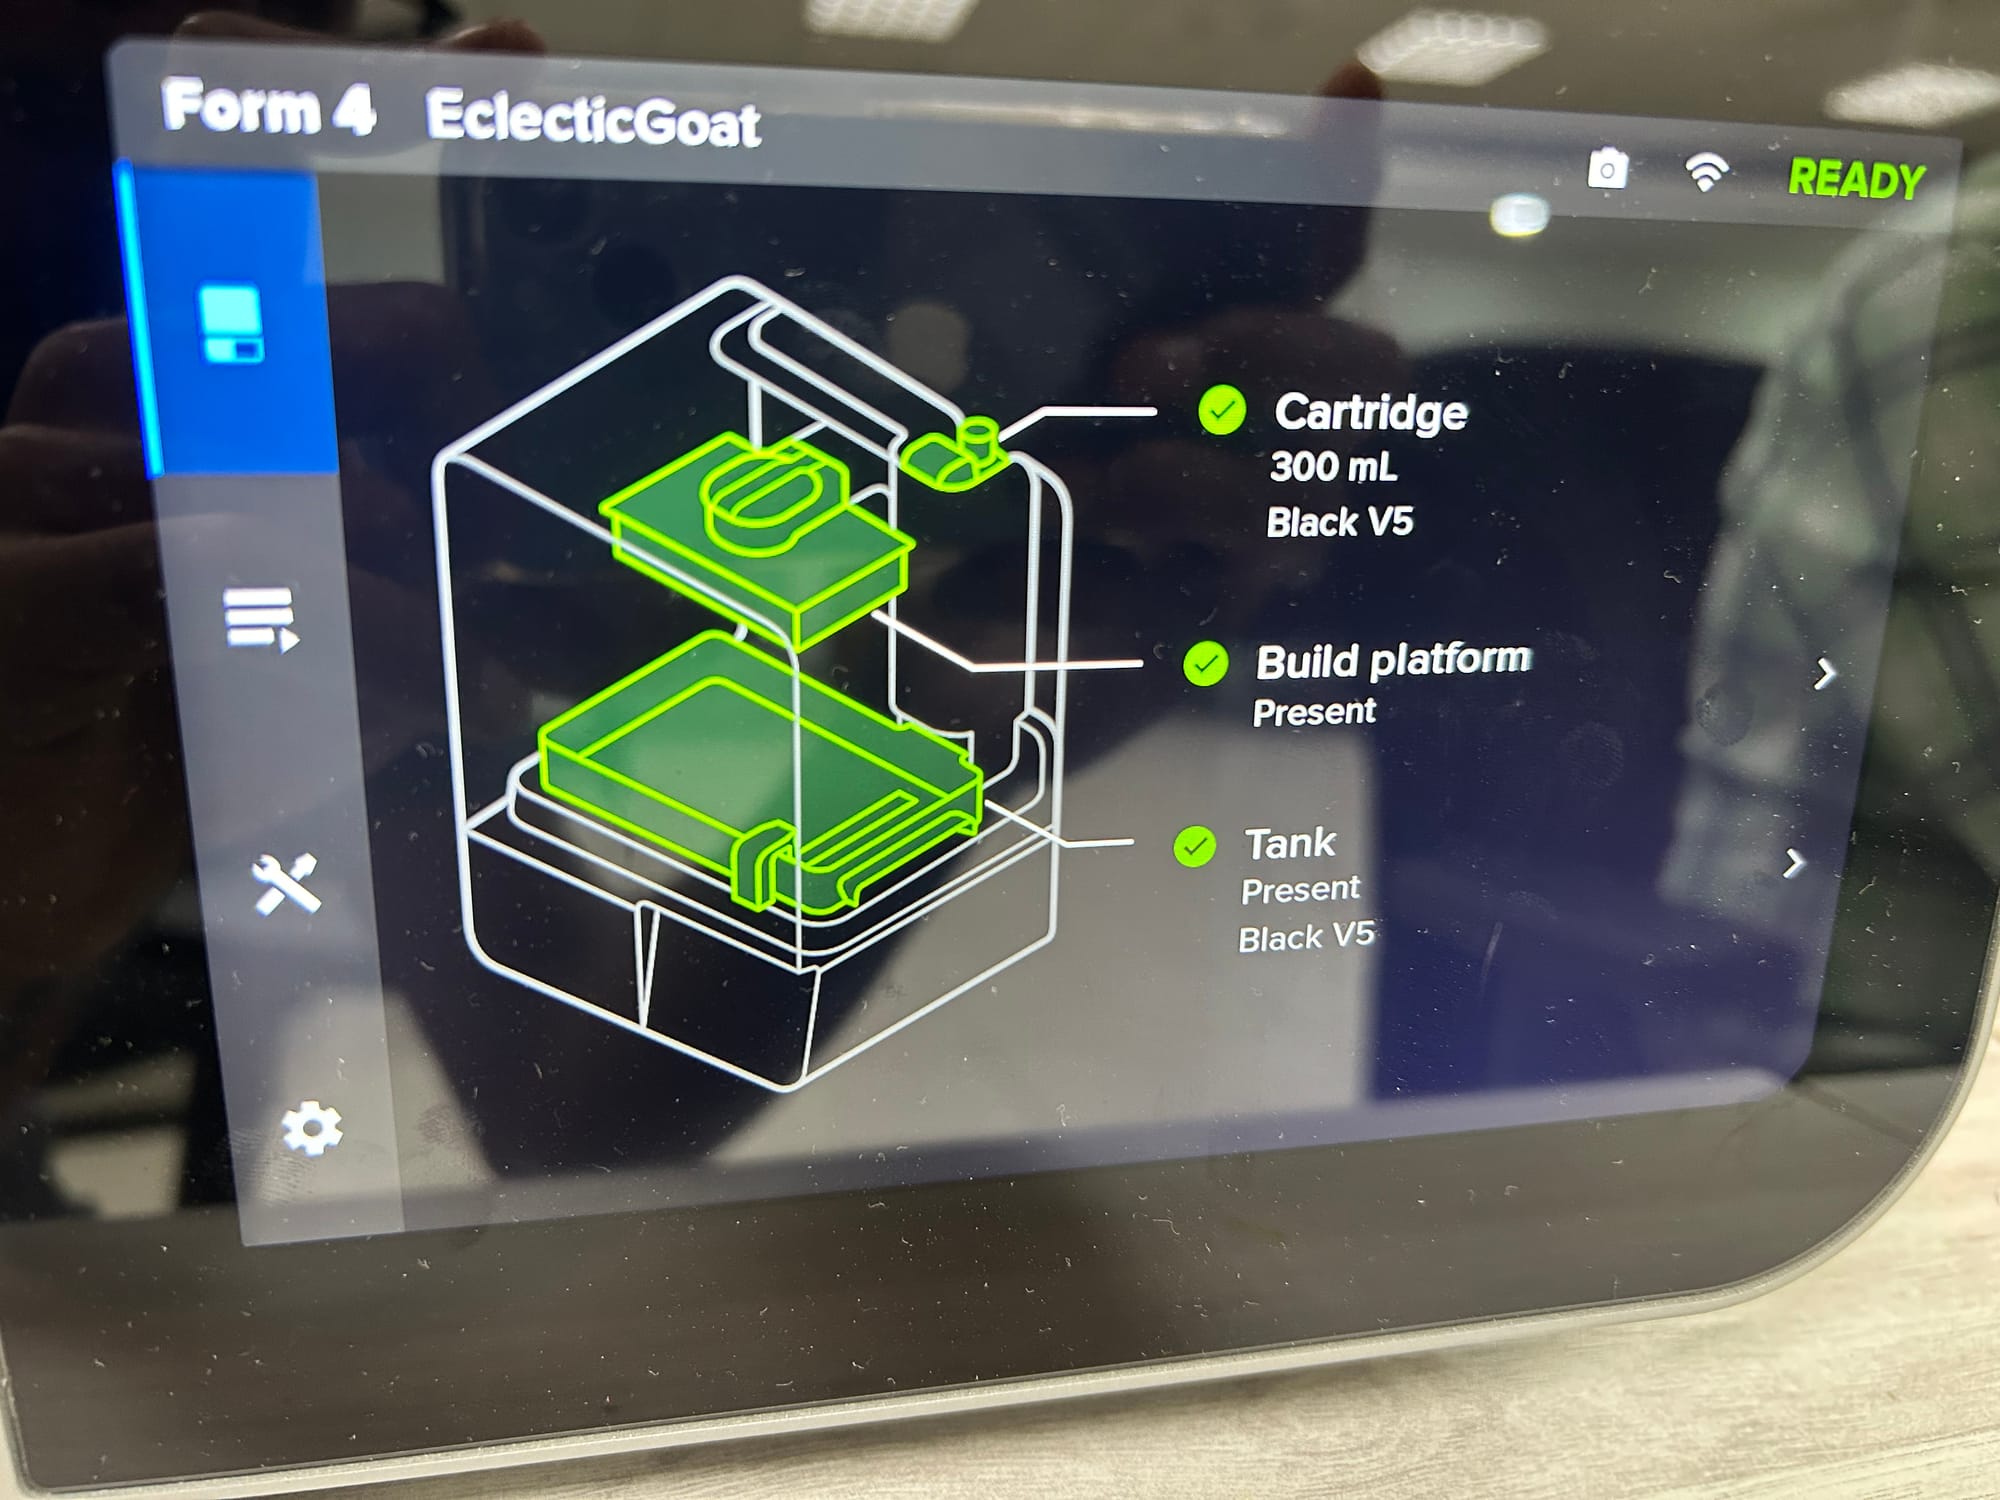
Always make sure the Tank and Cartridge material matches, tanks are material dependent.
Step-4:
Upload the file, you can do it by directly connected the slicer software to the 3d printer using IP address or you can use USB port to insert the pendrive.
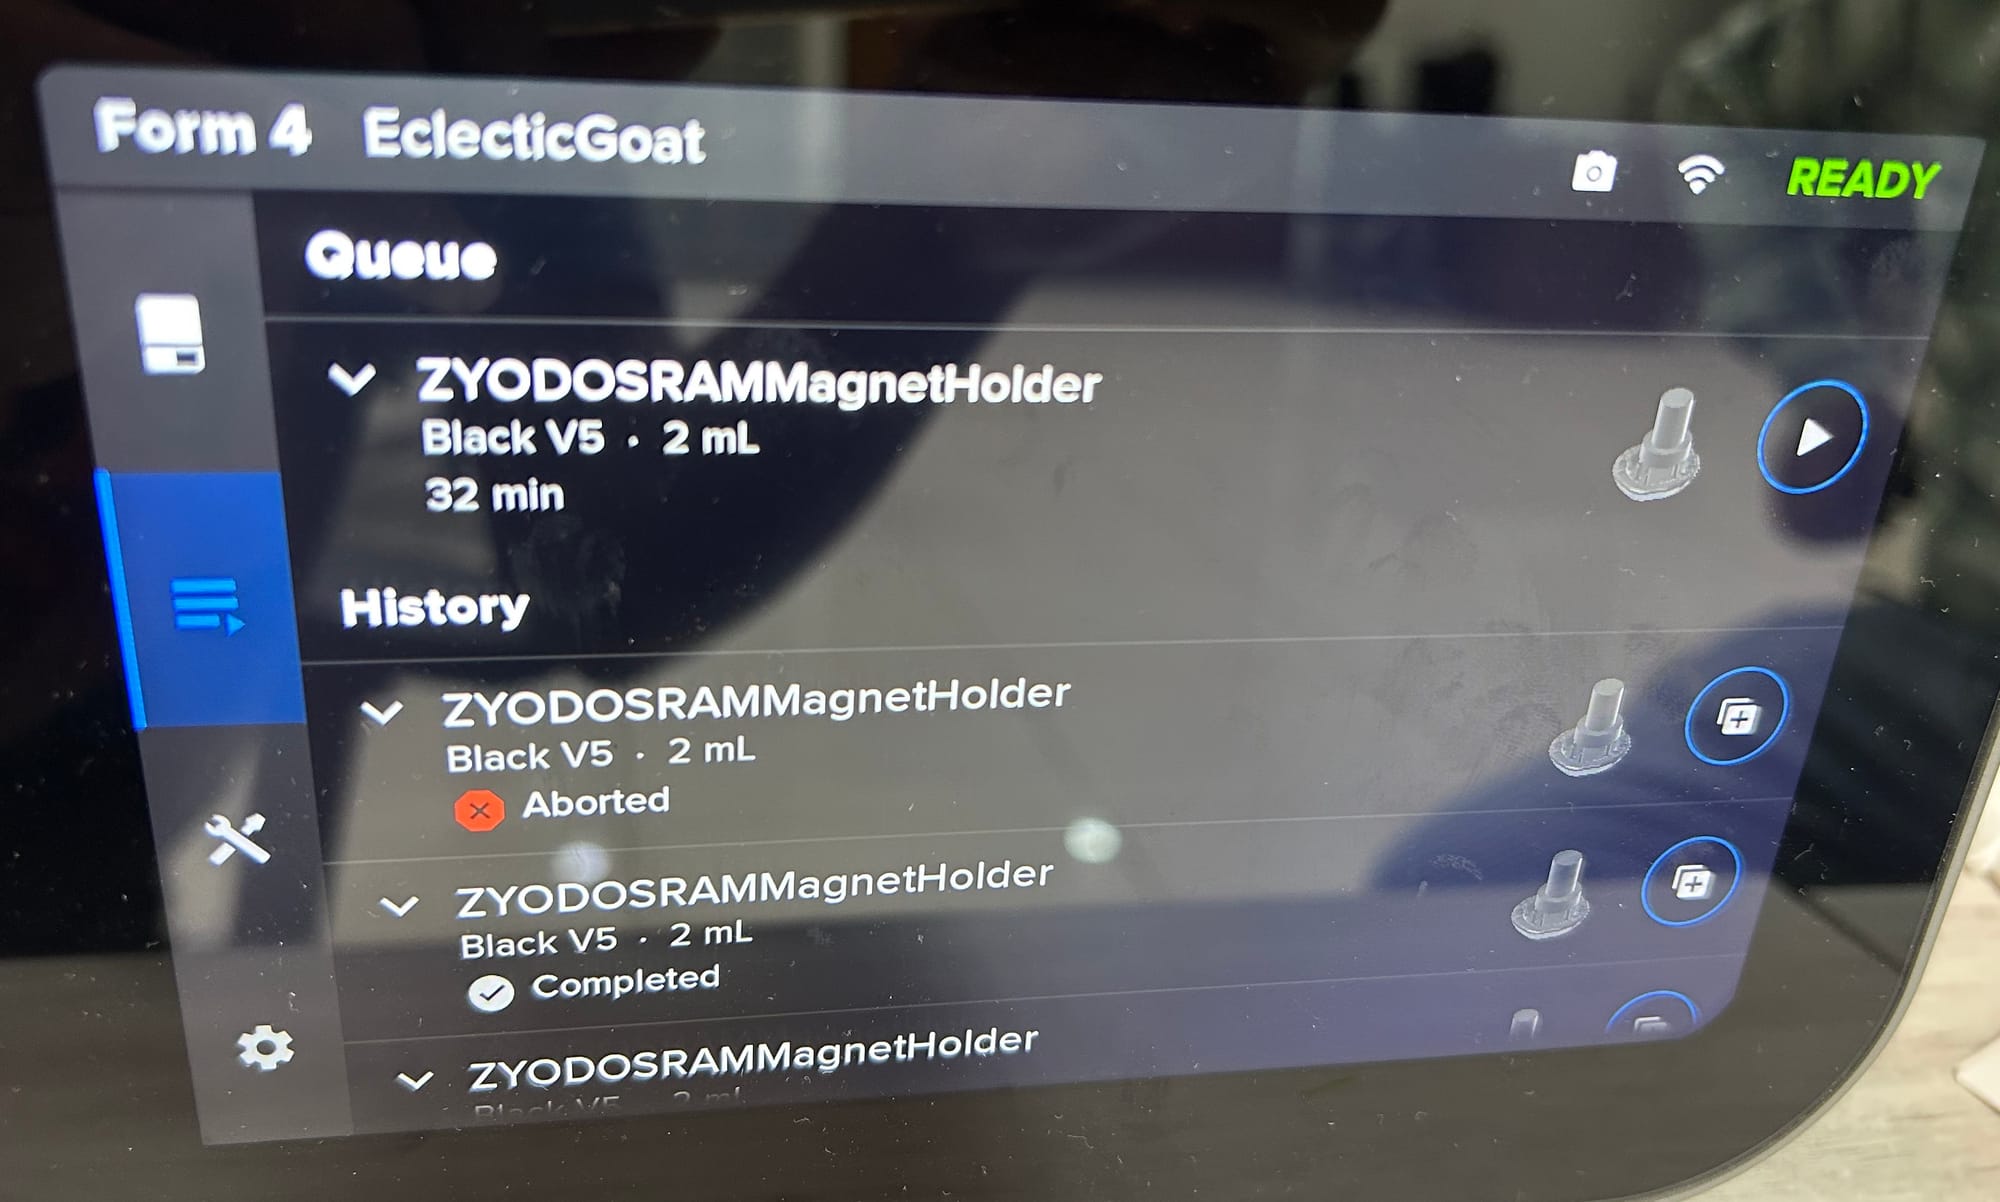
After uploading the file, click on add and start the printing process by clicking on play icon.
Post Processing:
Step-1: Removing Part
Unlock the build platform latch, pull the build platform outside and then clamp it. After clamping, press the four corner handle simultaneous, this will remove the part from the build plaform
After removing the clamp, mount the build platform on the 3d printer agian and lock the latch.
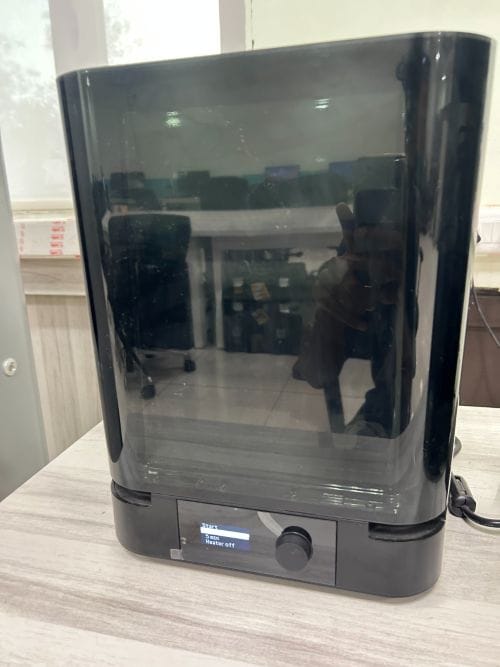
Step-2: Washing
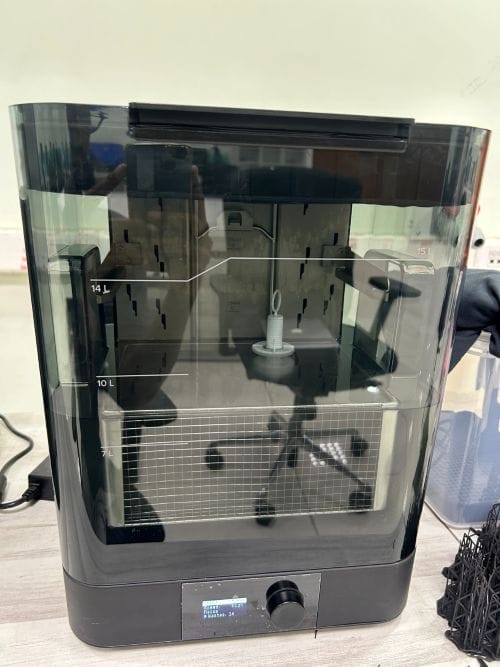
After removing parts from the build platform, parts require rinsing in isopropyl alcohol (IPA) or ether wash to remove any uncured resin from their surface. This machine is called Formwash
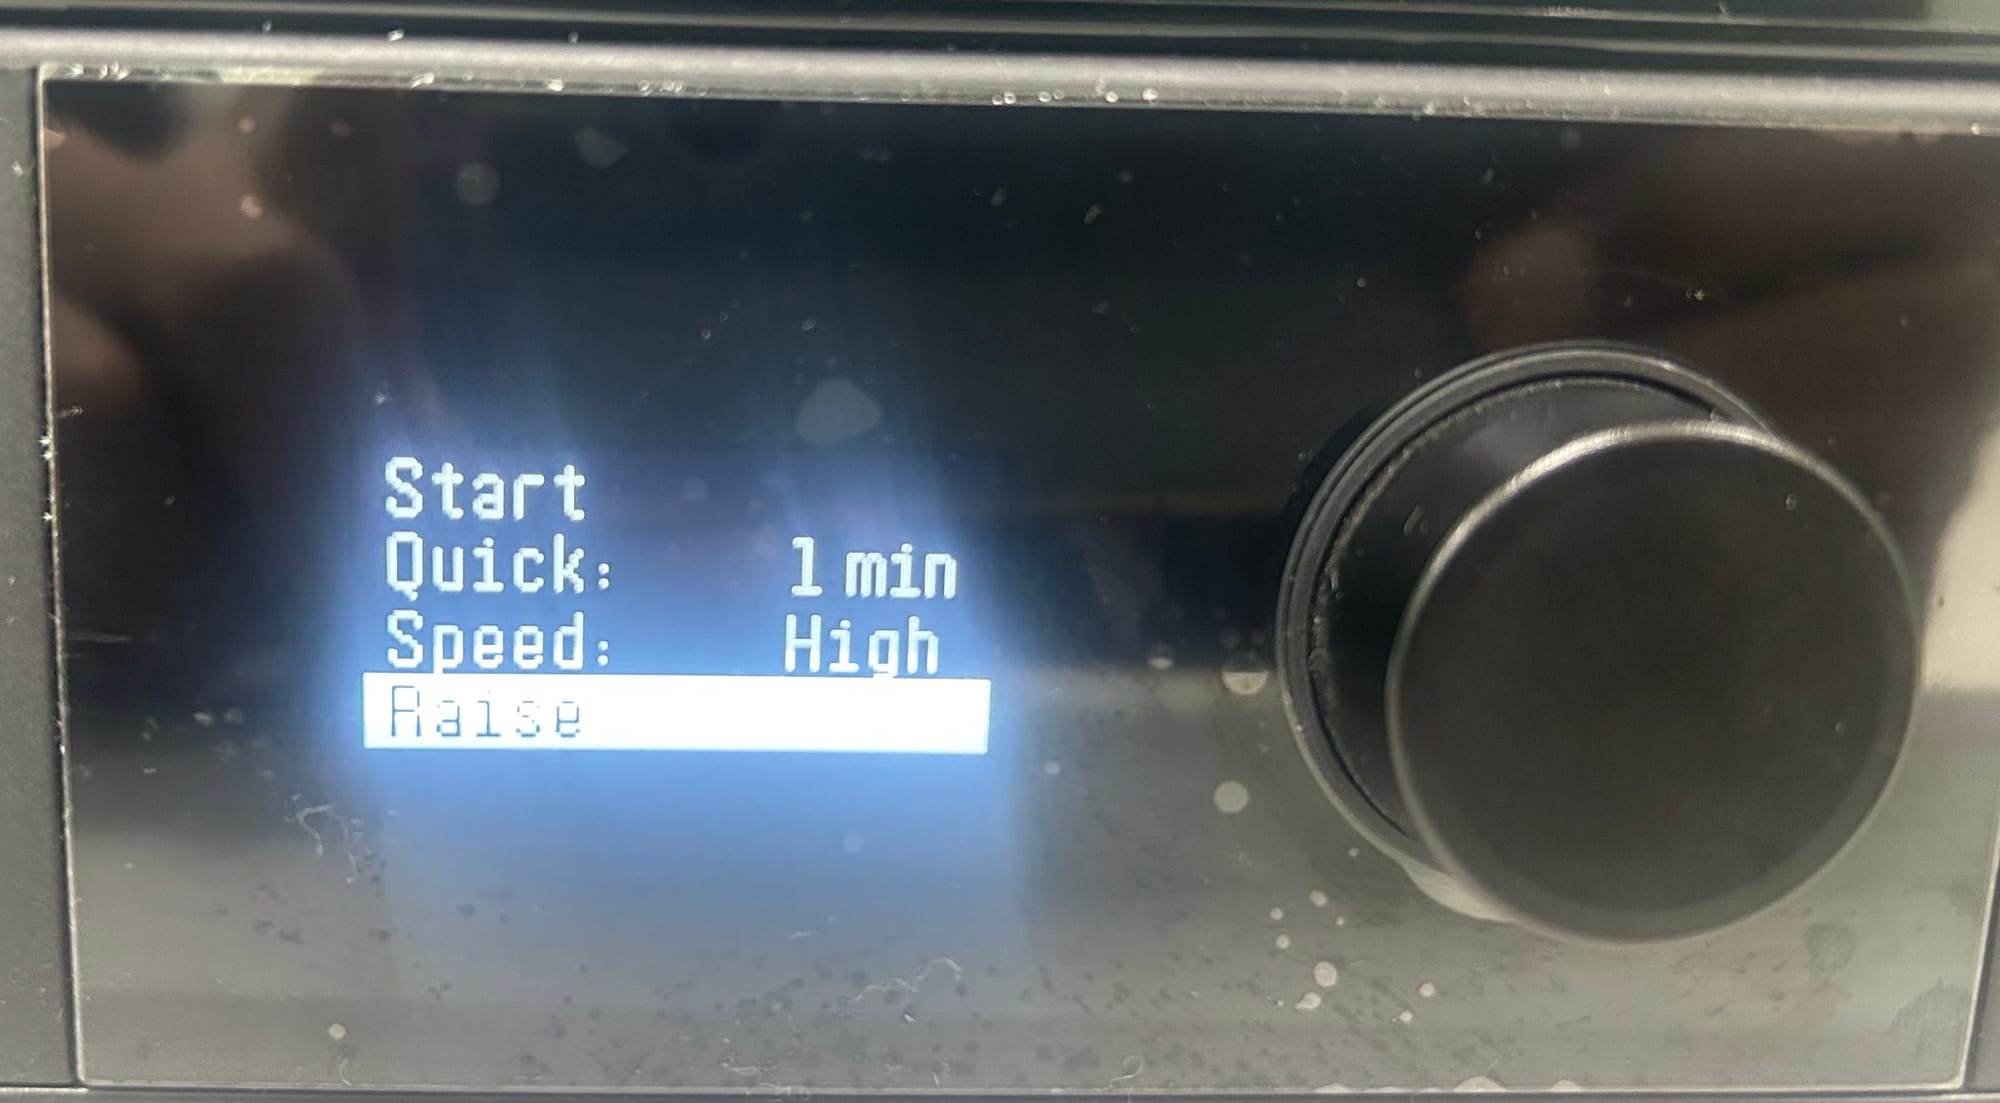
Choose Raise option, the platform will raise put the part in it
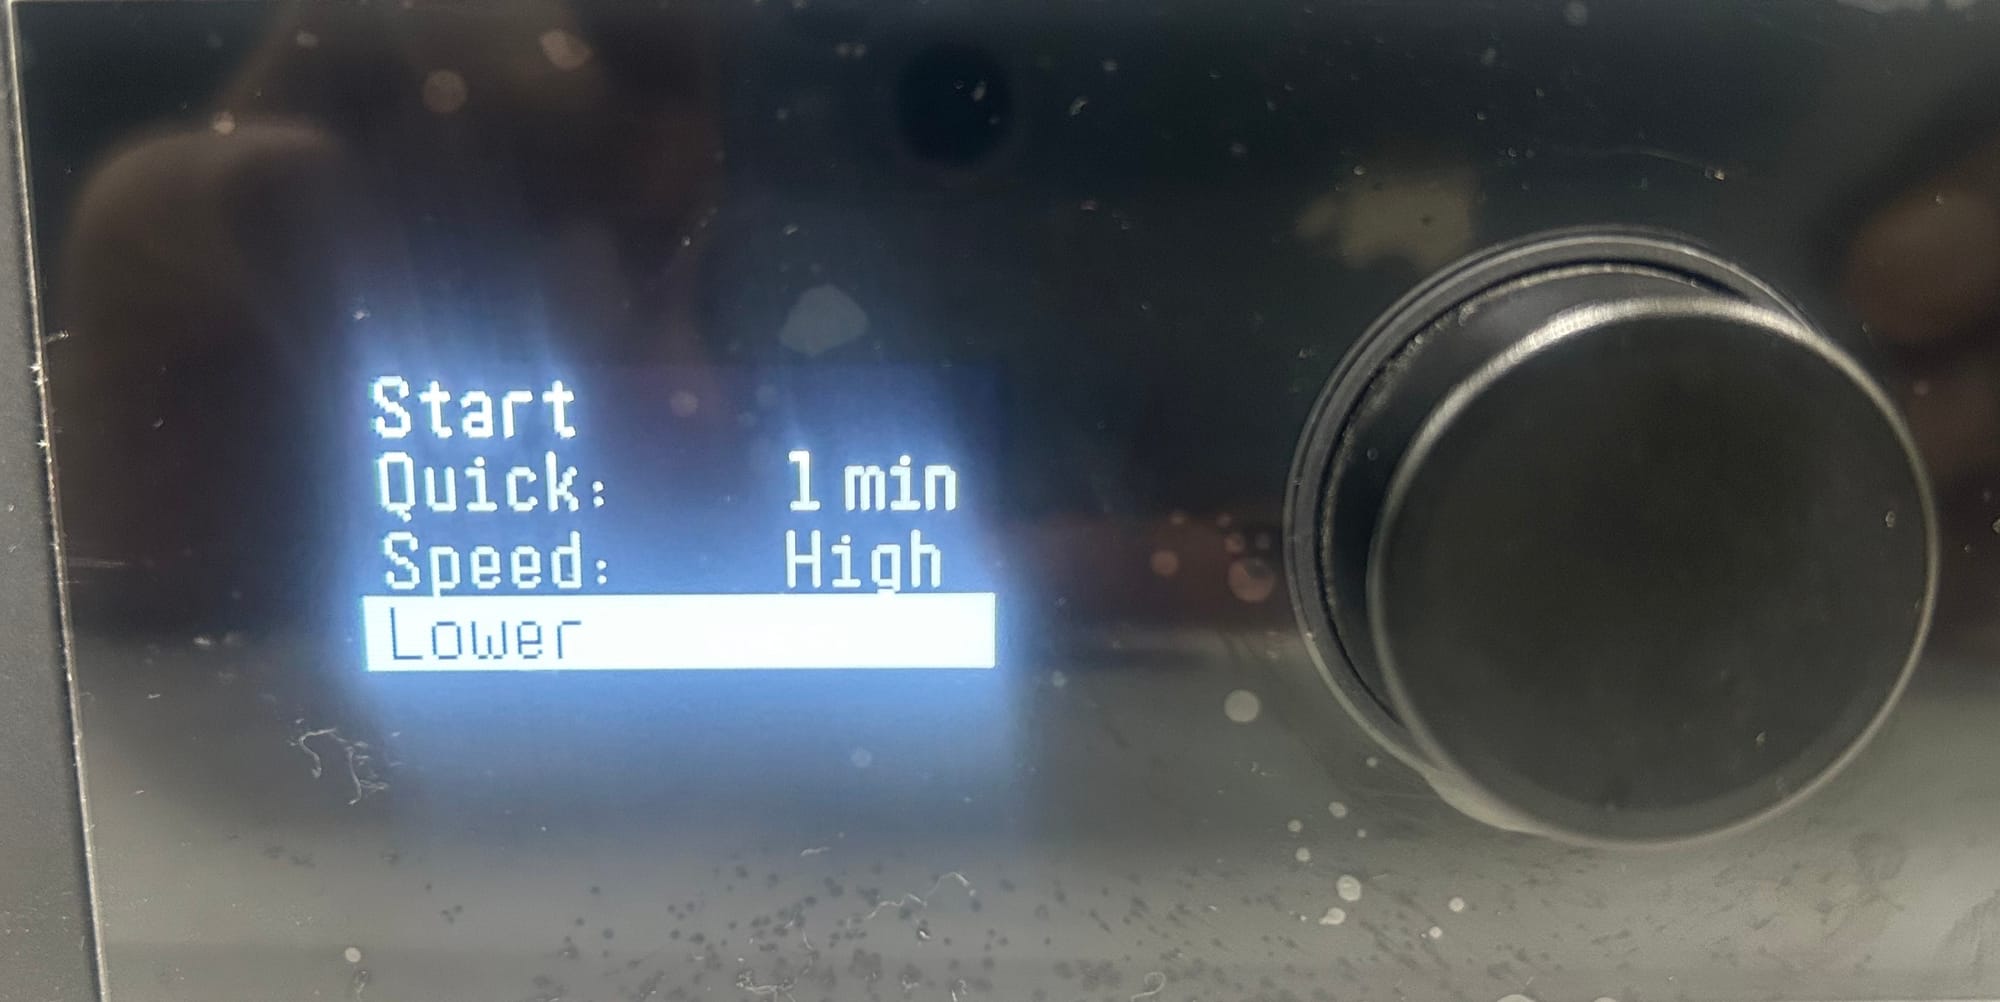
Choose Lower option to bring the platform down
Select the duration of the wash and start the washing process.
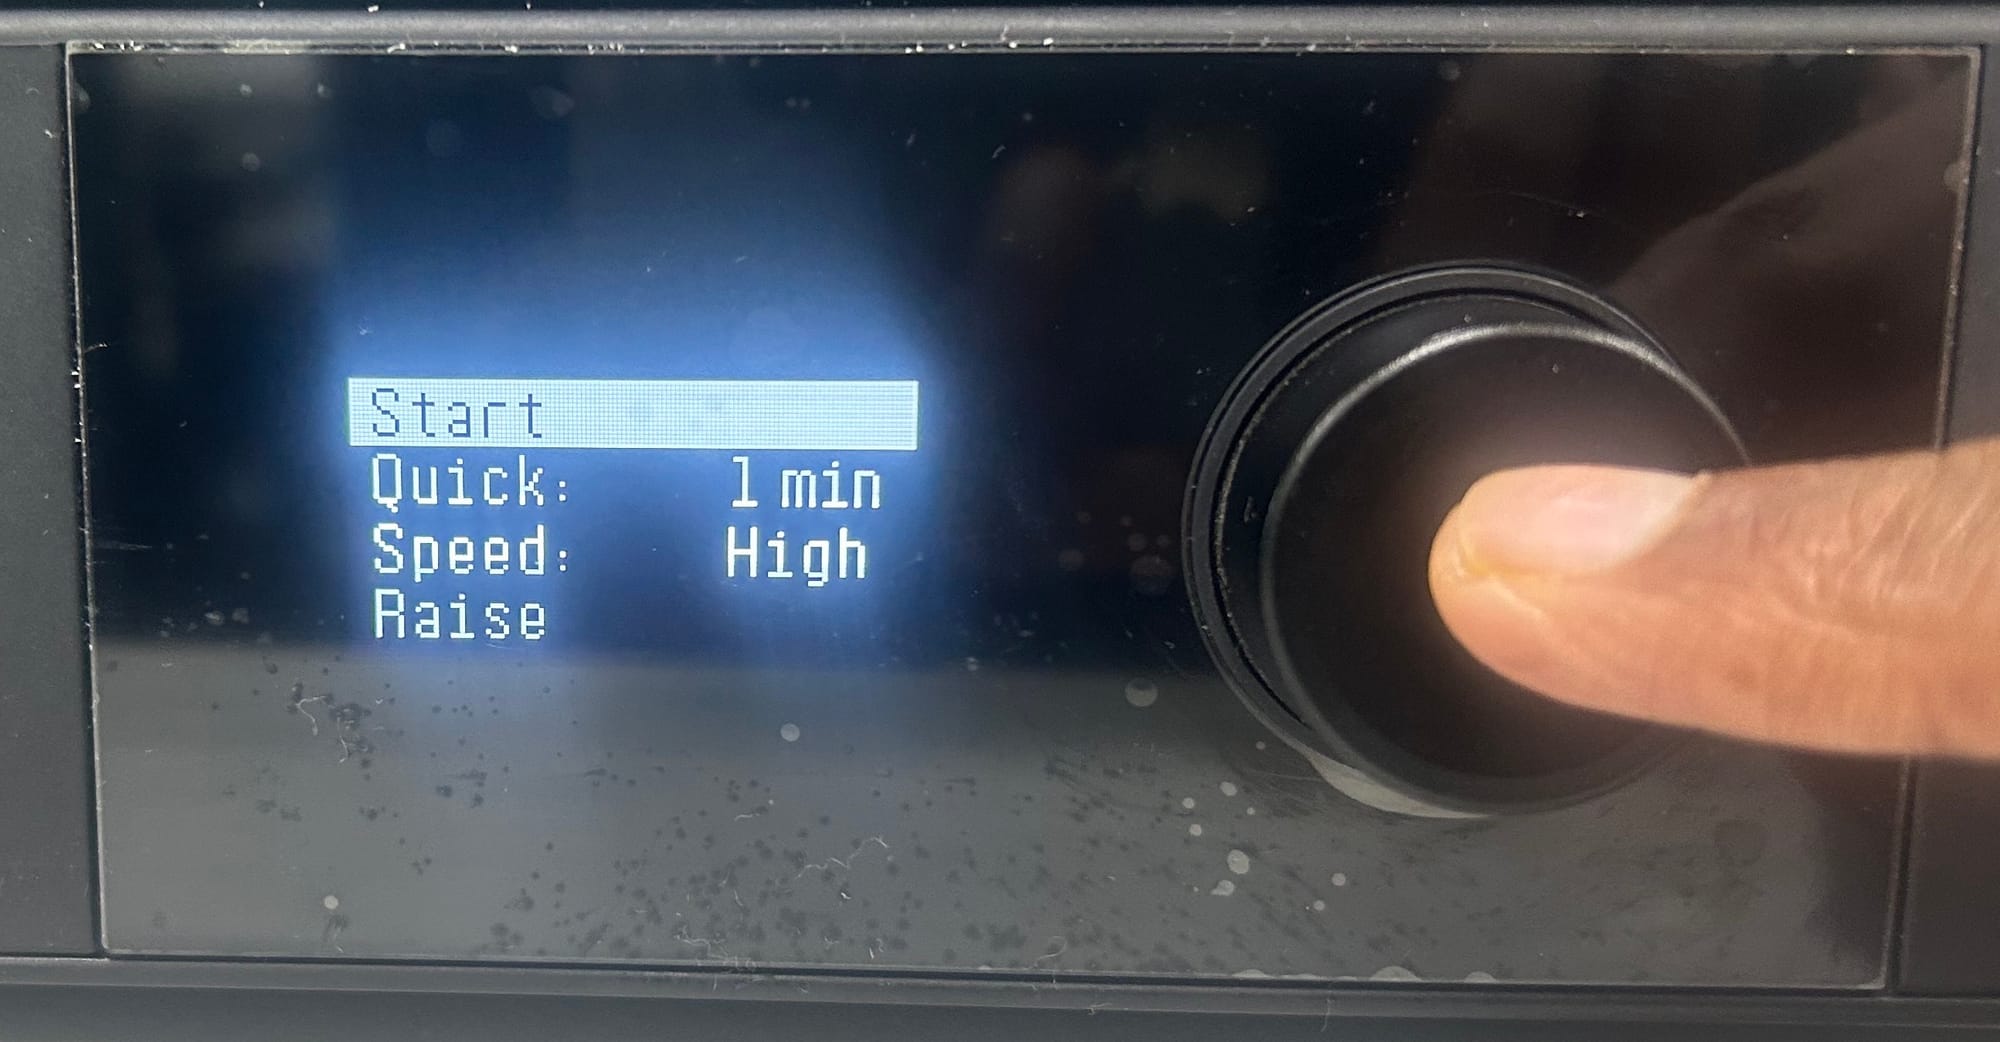
After the wash time the part will automatically raise up, pickup the part and lower the platform
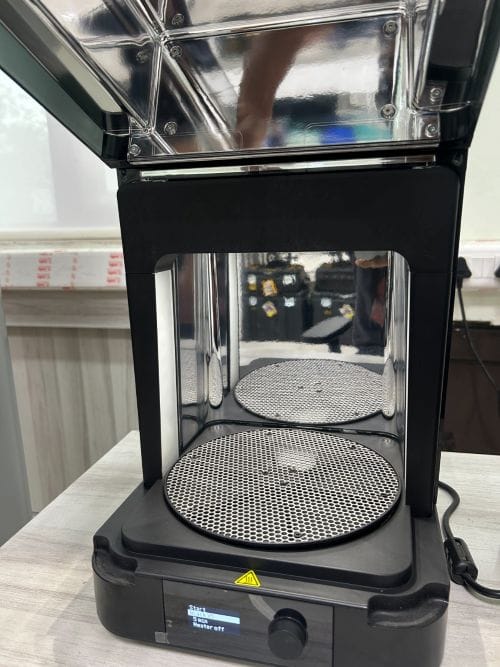
Step-3: Curing
After rinsed parts are dry, some materials require post-curing(UV light treatment), a process that helps improve parts' strength and performance, and reach their optimal material properties
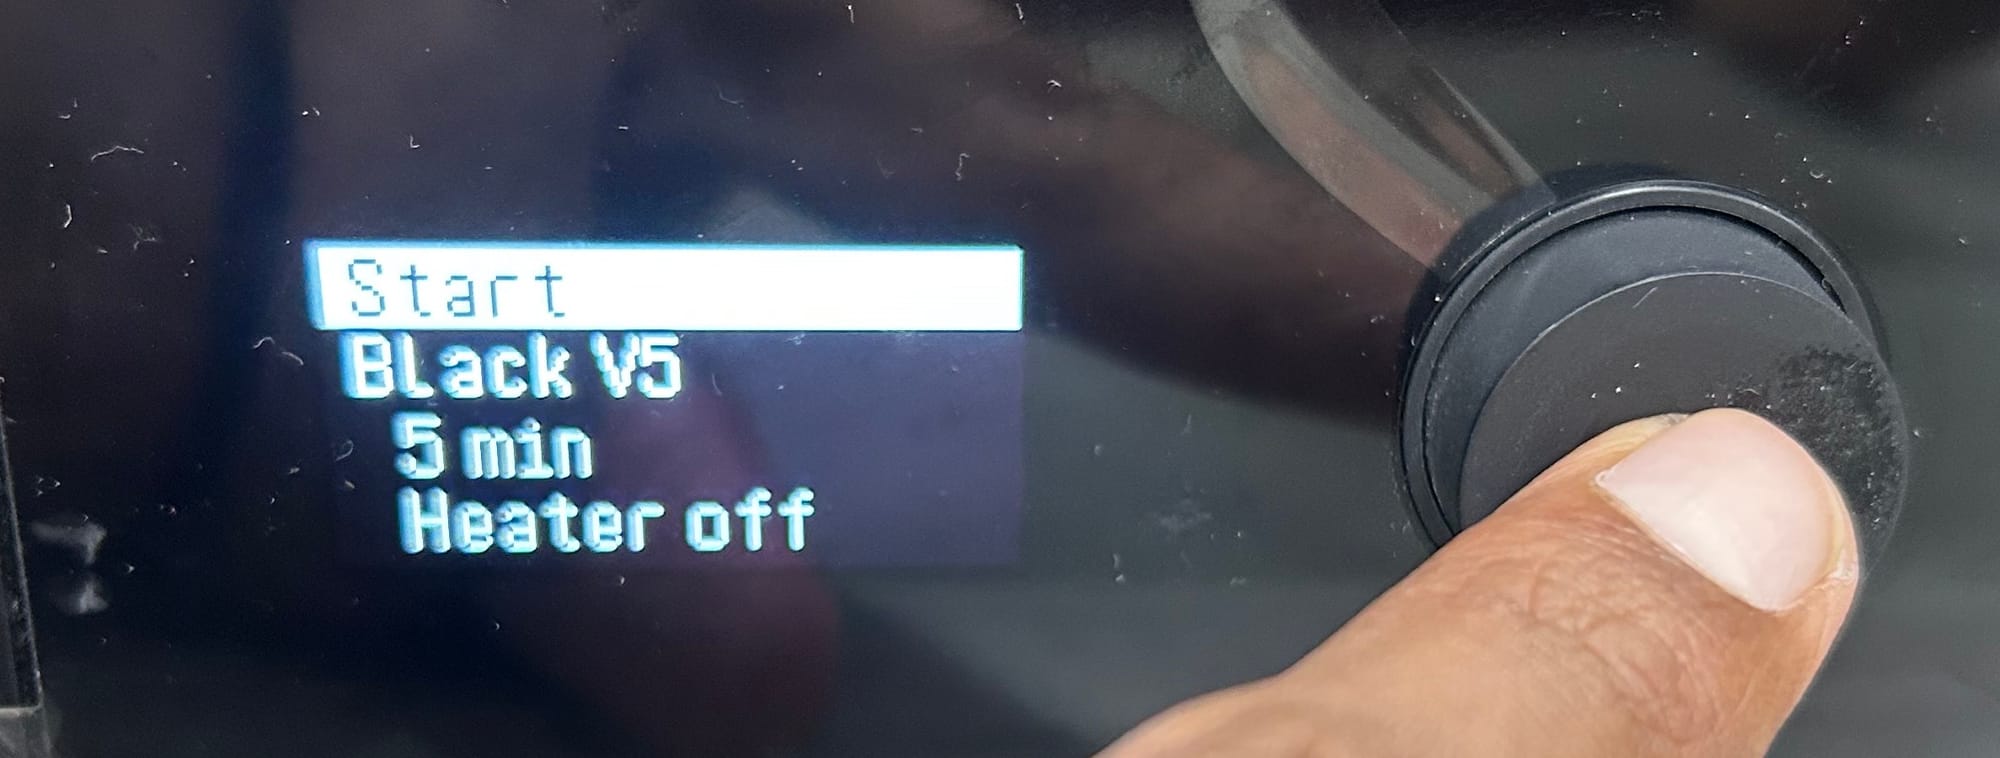
Open the machine, place the dried part inside
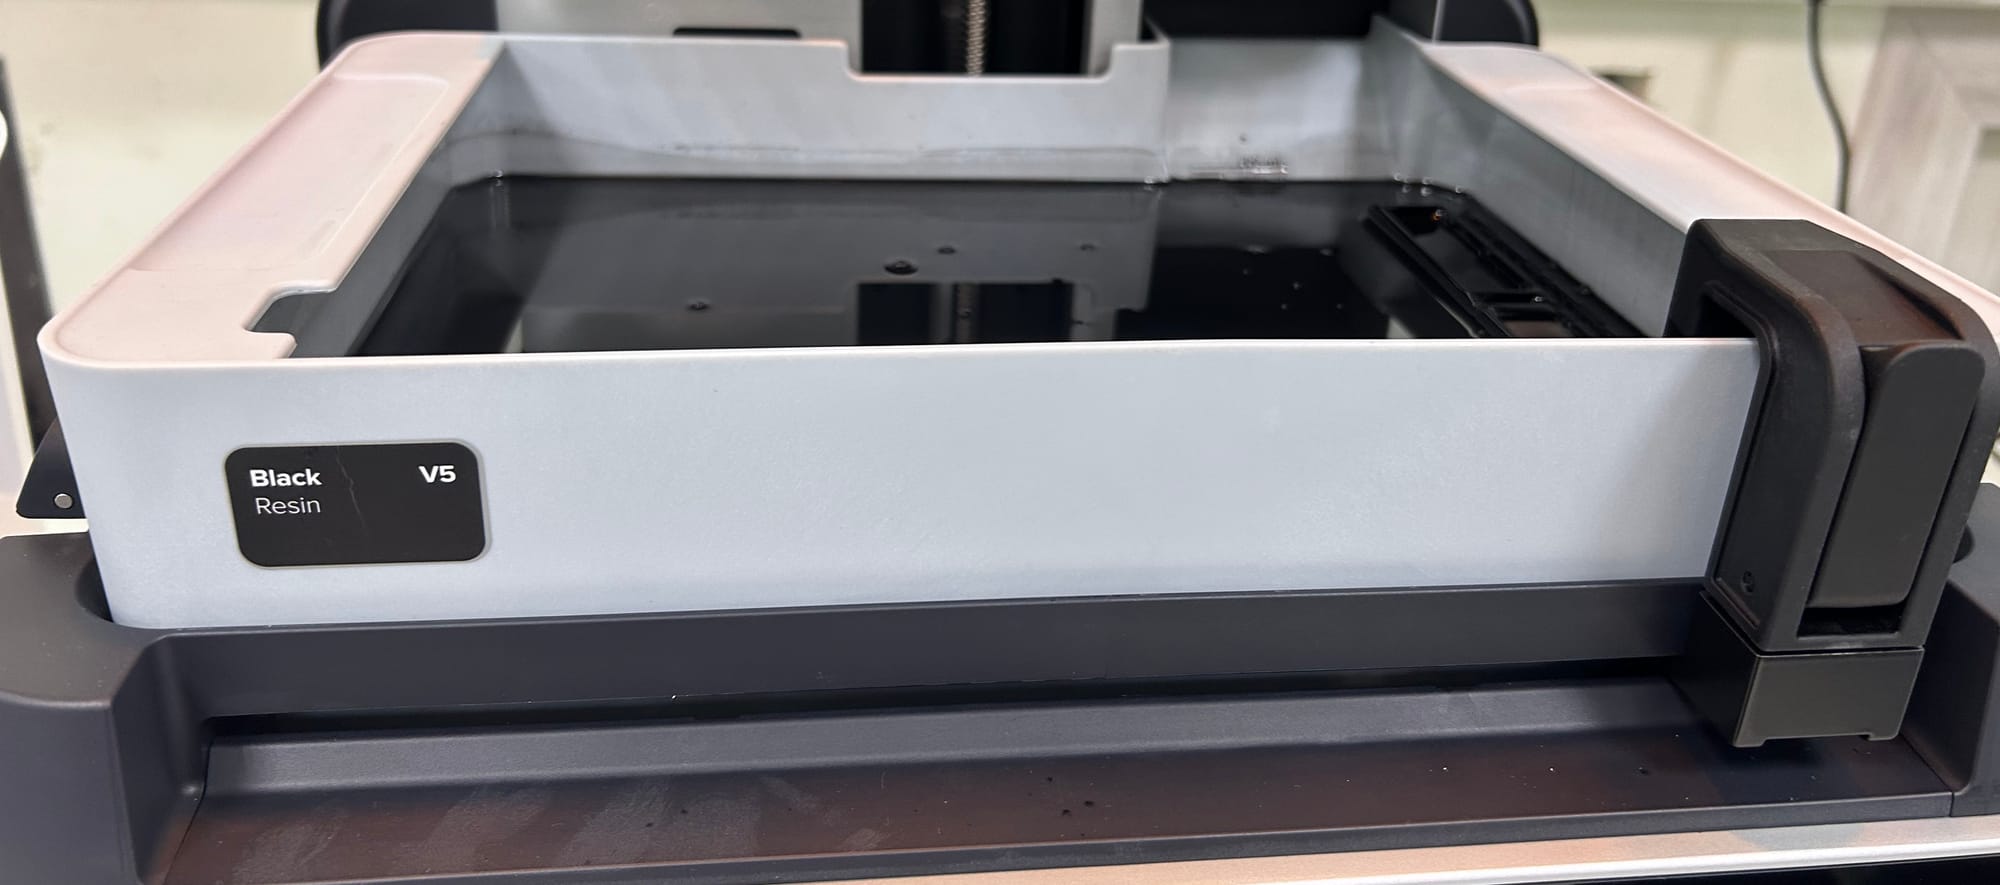
Select the material(Black V5), set the timer for curing and start the process
This step completes the post processing, now the product is ready to use.