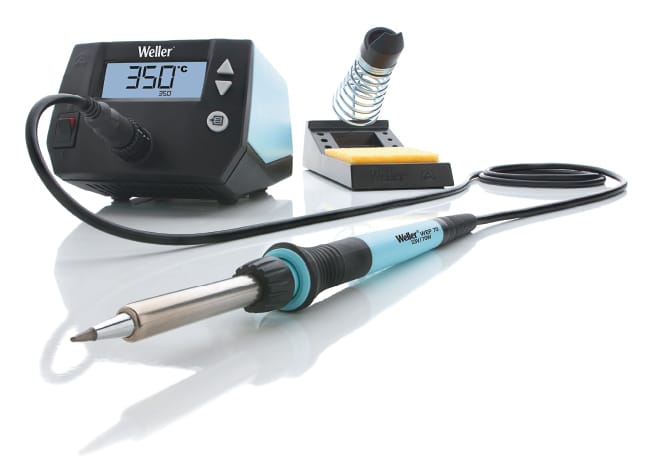
Manual Soldering—Weller WE 1010 Soldering Station
Duration: 1 Hr
Training Points: 100
Facility to Book: Weller WE 1010 Soldering Station
Manual soldering is a traditional method of joining electronic components, particularly leaded components, to a printed circuit board (PCB). It is suitable for
- small production run
- laboratory assembly work
- rework or repair
- addition of extra components on the machine-soldered assembly
The manual soldering process in PCB assembly involves using a heated soldering iron and a small amount of solder to join electronic components to circuit board traces. The process typically involves the following steps:
Preparing the components: The electronic components need to be properly aligned and positioned on the circuit board before they can be soldered in place. This often involves using tweezers to hold and adjust the components as needed.
Preparing the soldering iron: The soldering iron needs to be heated to the proper temperature; too high or too low a temperature will affect the welding effect. And a clean tip is important for making good-quality connections.
Applying solder: while the components are in the right place, the solder is applied with the soldering iron to the junction between the component and the circuit board trace. The solder should melt and flow around the component lead and into the circuit board hole.
Inspecting the connection: Once the solder has cooled, the connection can be inspected to ensure that it is properly formed and secure. Any excess solder can be removed with a desoldering tool or braid.
This process is typically repeated for each electronic component on the circuit board. It is important to balance both heat and speed when soldering to avoid damage to the electronic components or circuit board.
Useful Resources
Manual soldering design considerations